Regional visualization
Study gastrointestinal structures and neighbouring anatomy in 3D.
Explore Medical ImagingProfessional use cases
Explore gastrointestinal anatomy and imaging in 3D for professional education and case discussion.
Workflow
Import a DICOM dataset, select the relevant views, and use the anatomy as a shared reference.
Applications
Connect the anatomical relationships shown in imaging with the topics covered in professional training.
Study gastrointestinal structures and neighbouring anatomy in 3D.
Explore Medical ImagingCapture anatomical walkthroughs for teaching and revision.
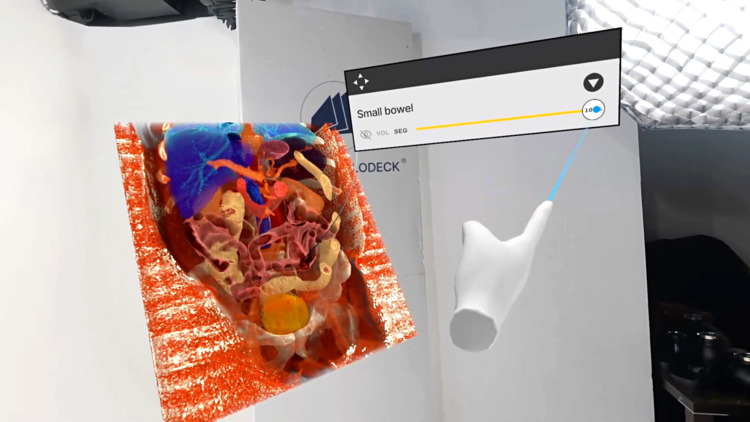
Explore RecordXRGastrointestinal anatomy can be presented through an overview of a selected region and then examined in more detailed imaging views. A volumetric reference allows the instructor to explain how the visible structures are arranged, while source slices provide a cross-sectional representation of the same material.
A teaching session might concentrate on the stomach or another region represented in the dataset. Participants can examine organ contours, identify adjacent structures, and explain the relationships from different orientations. The selected views should support a defined anatomical question rather than cover the entire dataset.
Anatomical models can introduce the regional organization before patient-specific imaging is discussed. The distinction between a general atlas and a particular dataset remains useful throughout the lesson. Each resource contributes a different reference for professional education.
Case-based sessions can introduce the anatomy relevant to a professional training topic without relying on a sequence of static images alone. The instructor can prepare a few views, establish orientation, and then allow participants to explore the region interactively. Discussion can return to the same material as questions develop.
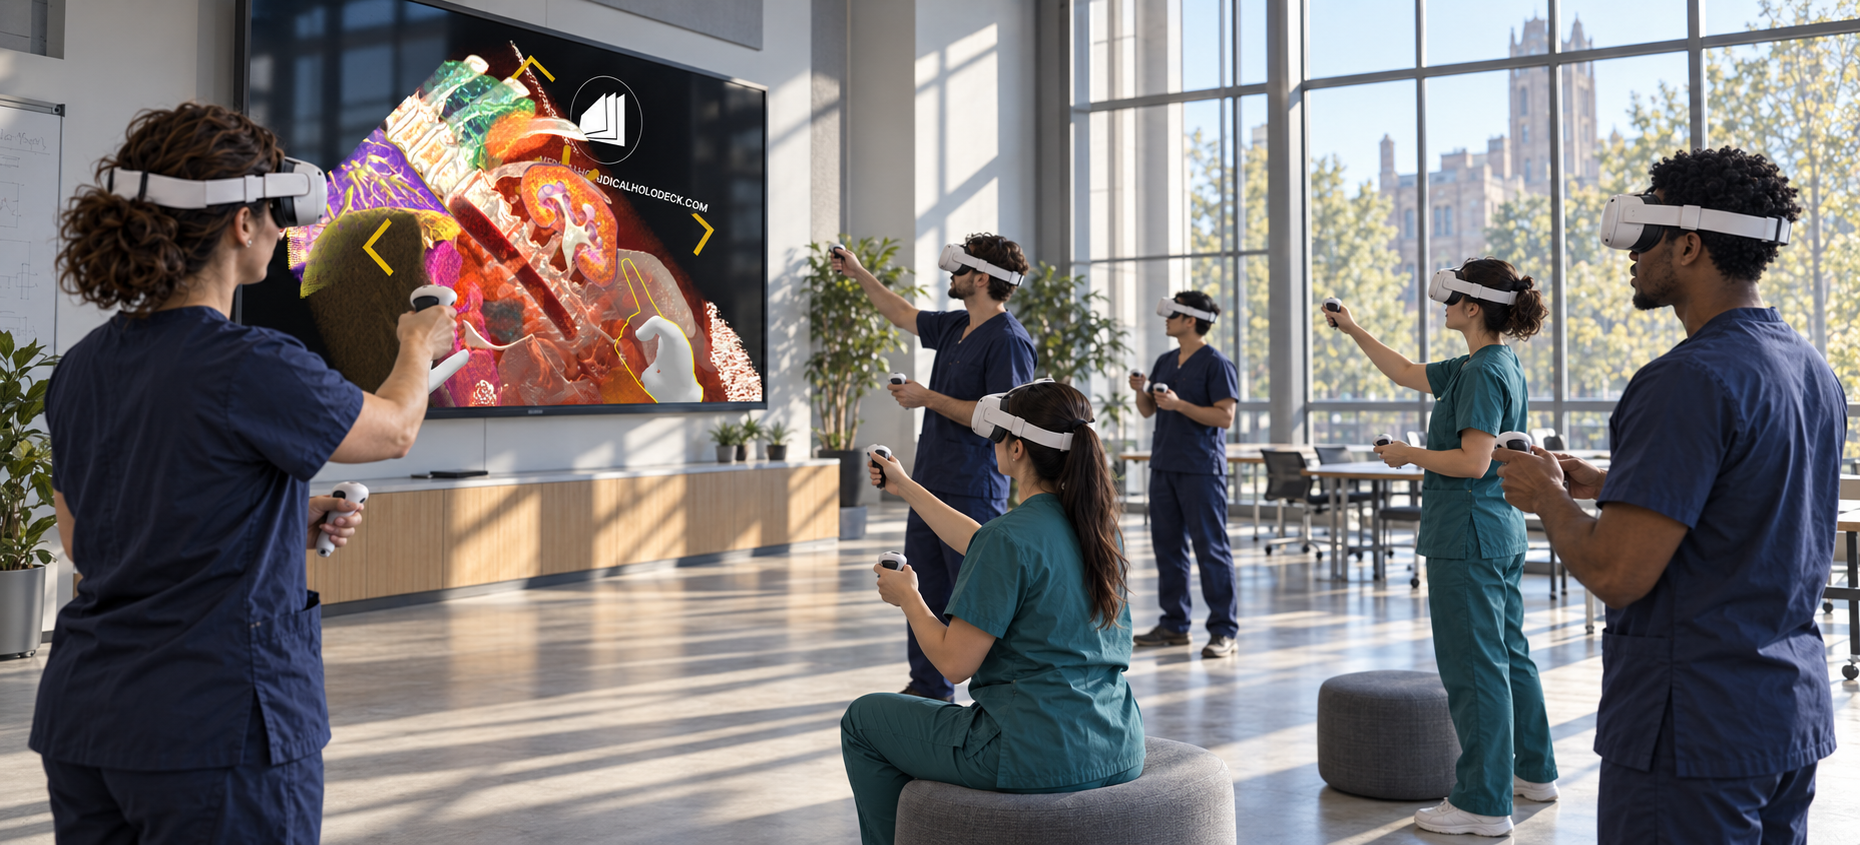
In a shared session, learners can describe a structure using the common visual reference. The instructor can ask them to connect it with an adjacent landmark or its appearance in selected slices. These activities keep the session focused on anatomical explanation and imaging orientation.
Recorded walkthroughs can preserve a regional anatomy demonstration for revision. A short recording can establish the topic, identify the views used, and explain the key relationships. Such material can sit alongside the programme’s existing practical teaching and other learning resources.
Collaboration
Use TeamXR for shared gastrointestinal case teaching with participants across locations.
For instructor-led sessions, teacher mode provides control over participant interaction while the material is explained. A session can combine a prepared presentation with questions and shared exploration, allowing participants to return to the same views when clarification is needed.
Capture voice and 3D interactions with RecordXR for training and later discussion.
Get started
Test the software with representative data. Contact our team about supported devices, licences, and your intended use.
Begin with a dataset and session format that reflect your intended use. Check the required applications, viewing devices, group access, and preparation workflow before choosing a licence. This provides a practical basis for evaluating the setup in your own environment.