Professional presentations
Use patient-specific imaging to illustrate anatomical features in case discussions.
Explore Medical ImagingProfessional use cases
Use 3D anatomy and imaging to present medical information to colleagues, learners, and patients.
Workflow
Use a common visual reference and select views that support the explanation.
Applications
Choose the level of detail and terminology around the purpose of the conversation.
Use patient-specific imaging to illustrate anatomical features in case discussions.
Explore Medical ImagingRecord narrated walkthroughs for training, patient education, and presentations.
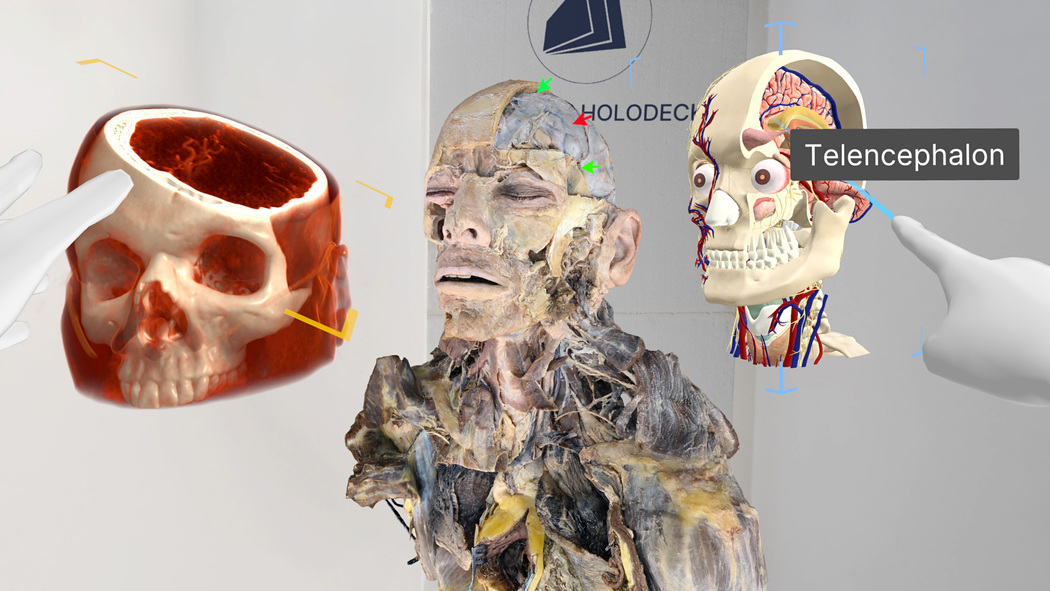
Explore RecordXRMedical visual communication connects an explanation with anatomy that the audience can see. An anatomical atlas can introduce the region, while patient-specific imaging can provide a reference for a particular discussion. The choice of material should follow the purpose of the conversation and the experience of the participants.
Professional audiences may need detailed relationships, terminology, and cross-sectional views. Learners may benefit from a slower introduction to orientation and landmarks. Patient explanations generally require a smaller selection of structures and familiar language. The same software can support these different presentations through the views selected by the presenter.
A clear sequence begins with context and then moves into detail. Showing the broader region before isolating a structure keeps the explanation connected to its anatomical setting. Returning to that overview can also help address questions as the discussion develops.
For a live presentation, prepared views establish a structure while interactive exploration allows the presenter to respond to questions. Participants can examine the same material and identify the anatomical relationship they are discussing. This supports conversations that would otherwise depend on verbal descriptions or a succession of separate images.
RecordXR can preserve the presenter’s narration and interactions with the 3D content. A recording can address a particular anatomical region, introduce an imaging concept, or document a guided explanation. Keeping the topic defined makes the material easier to reuse in education and communication.
Different audiences should have different versions of the explanation where necessary. The terminology, pacing, and amount of detail can be adapted without changing the underlying anatomical material. Recorded content can accompany live sessions and existing educational resources.
Collaboration
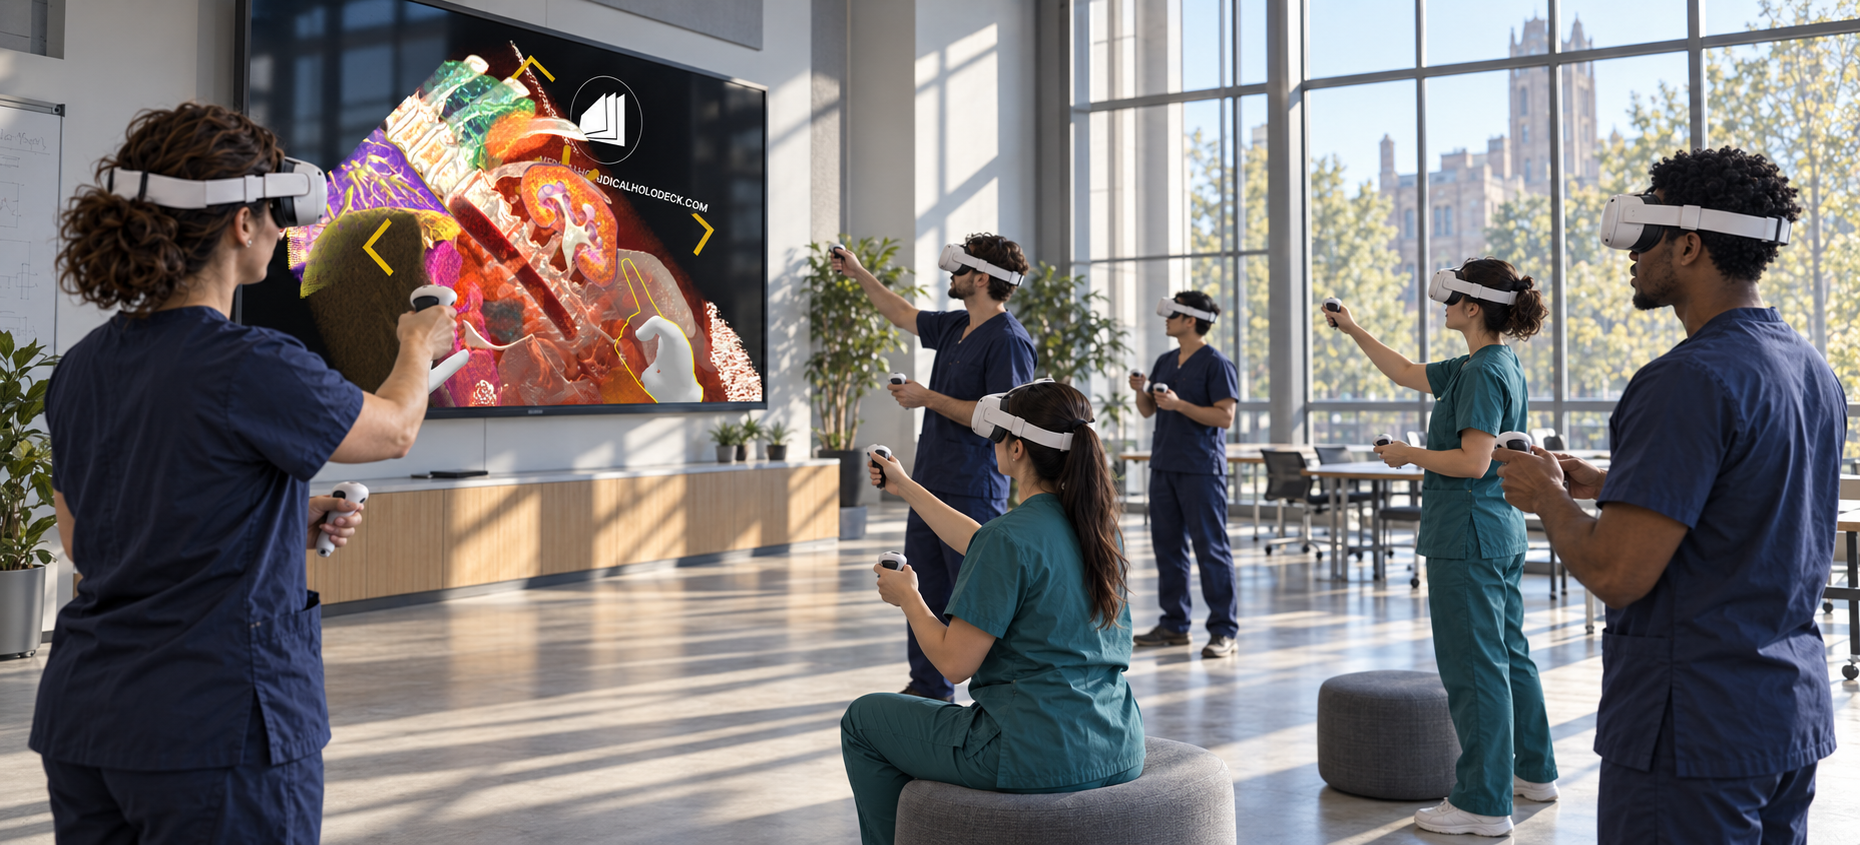
Use TeamXR to present the same 3D material to participants locally or remotely.
For instructor-led sessions, teacher mode provides control over participant interaction while the material is explained. A session can combine a prepared presentation with questions and shared exploration, allowing participants to return to the same views when clarification is needed.
Capture voice and 3D interactions with RecordXR for training and later discussion.
Get started
Test the software with representative data. Contact our team about supported devices, licences, and your intended use.
Begin with a dataset and session format that reflect your intended use. Check the required applications, viewing devices, group access, and preparation workflow before choosing a licence. This provides a practical basis for evaluating the setup in your own environment.