Anatomical orientation
Introduce structures and spatial relationships with an interactive anatomical atlas.
Explore Anatomy MasterProfessional use cases
Use 3D anatomy and imaging to explain pelvic structures in professional training and case discussion.
Workflow
Prepare anatomical models or imaging views according to the teaching objective.
Applications
Use a visual reference to connect regional anatomy with teaching and communication.
Introduce structures and spatial relationships with an interactive anatomical atlas.
Explore Anatomy MasterCompare the anatomical region with slices and volumetric views from supported imaging.
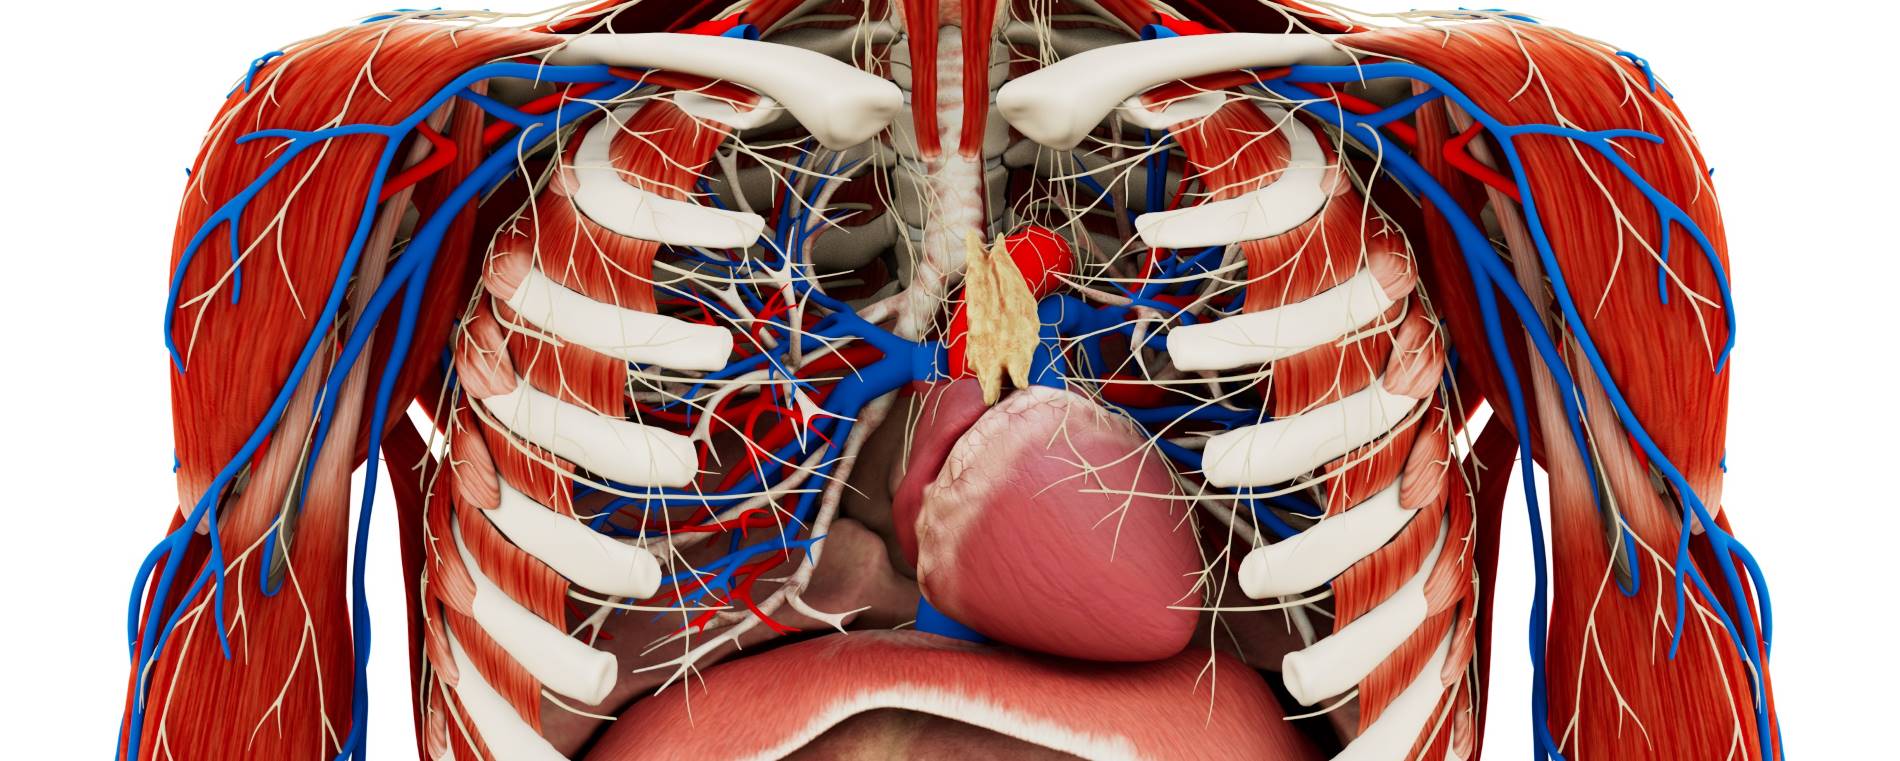
Explore Medical ImagingPelvic anatomy teaching requires learners to connect individual organs with surrounding structures and the region as a whole. An anatomical model provides an overview that can be rotated and examined from different directions. Imaging adds a cross-sectional reference for the material discussed in the lesson.
The instructor can select the structures relevant to the course topic, establish orientation, and move between wider and more focused views. Participants can explain where a structure lies and how its appearance changes with the viewing plane. This supports anatomical teaching at different levels of experience.
General atlas material and patient-specific datasets should be presented as separate references. The model supports systematic anatomy teaching, while imaging illustrates the information available in a selected case. A clear sequence makes their relationship explicit without treating them as interchangeable.
A session can begin with a limited set of anatomical objectives, such as orientation within the pelvis or identification of neighbouring structures. The instructor can prepare the corresponding views and introduce them before learners explore the material. This gives the session a defined scope.
In group teaching, participants can use the same anatomical reference to explain relationships and clarify terminology. Questions can connect the 3D material with course diagrams and source imaging. The level of detail can change according to the participants and the educational purpose.
Recordings can document a guided regional walkthrough for later study. Learners can revisit the explanation before a subsequent lesson and prepare questions about structures they found difficult to orient. The recordings complement the wider curriculum and supervised practical instruction.
Collaboration
Use TeamXR for instructor-led teaching and shared discussion of pelvic anatomy.
For instructor-led sessions, teacher mode provides control over participant interaction while the material is explained. A session can combine a prepared presentation with questions and shared exploration, allowing participants to return to the same views when clarification is needed.
Capture voice and 3D interactions with RecordXR for training and later discussion.

Get started
Test the software with representative data. Contact our team about supported devices, licences, and your intended use.
Begin with a dataset and session format that reflect your intended use. Check the required applications, viewing devices, group access, and preparation workflow before choosing a licence. This provides a practical basis for evaluating the setup in your own environment.