Patient-specific visualization
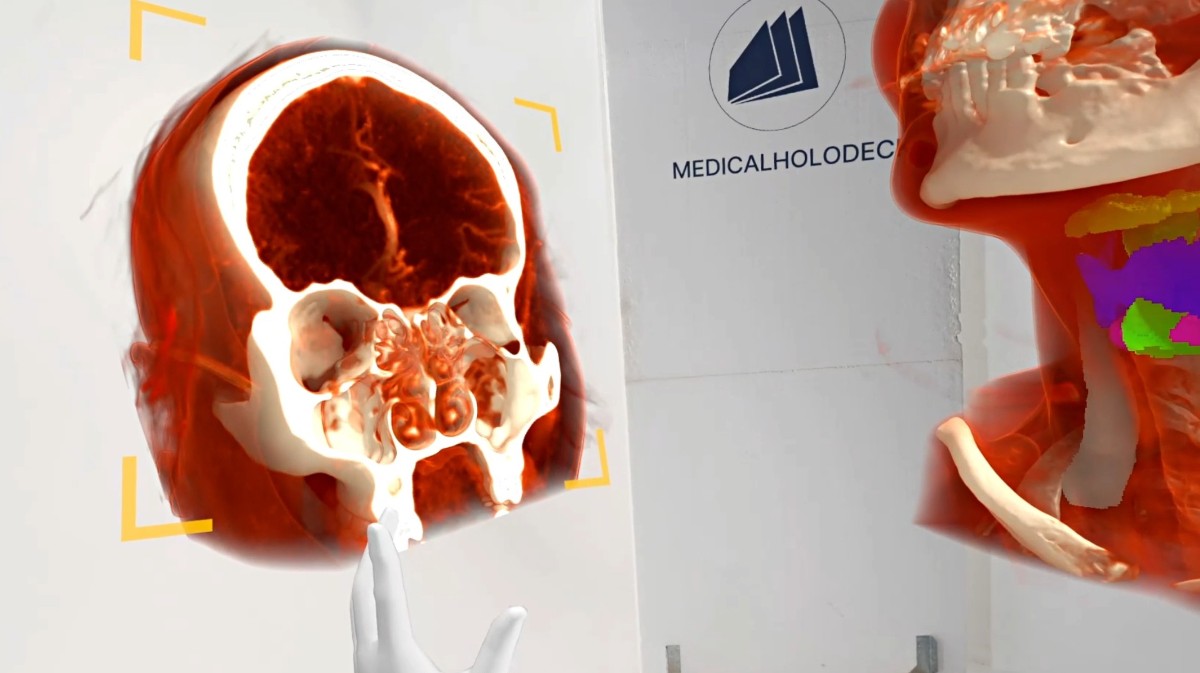
Explore the anatomy illustrated by a selected CT or MRI dataset.
Explore Medical ImagingProfessional use cases
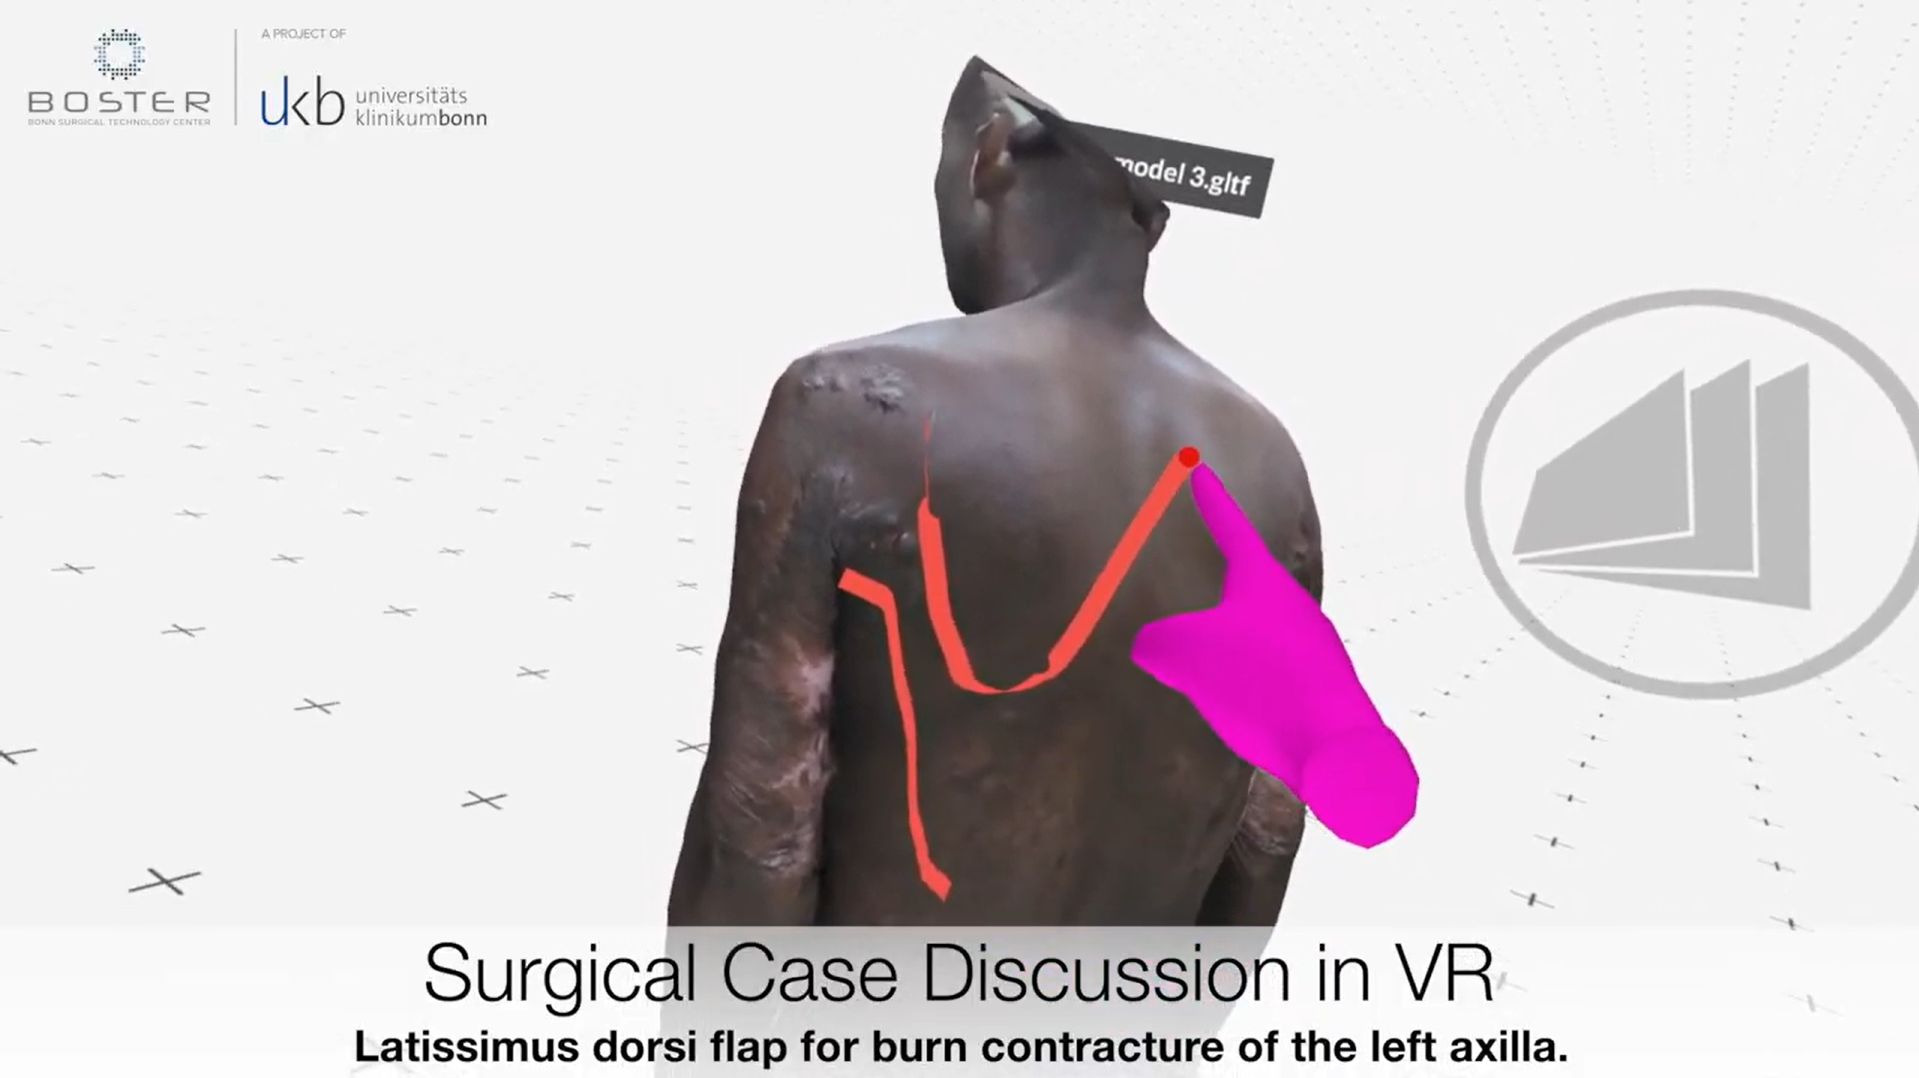
Examine regional anatomy and patient-specific imaging in 3D for reconstructive surgery education and case presentation.
Workflow
Import a DICOM dataset, select the relevant views, and use the anatomy as a shared reference.
Applications
Use imaging and dissection material as references for teaching and professional discussion.
Explore the anatomy illustrated by a selected CT or MRI dataset.
Explore Medical ImagingStudy human dissections to explain tissue layers and regional relationships.
Explore Dissection MasterReconstructive surgery education draws on a detailed understanding of regional anatomy. Volumetric imaging can provide a visual reference for the structures represented in a teaching case, while slices show their cross-sectional appearance. The instructor can use both to establish orientation and explain anatomical relationships.
The material should be selected around the region and teaching objective. Prepared views can show the wider anatomy before the discussion concentrates on a smaller group of structures. Returning to the overview helps participants keep the detailed explanation in context.
Human dissection material can add a layered anatomical reference. It can be introduced alongside imaging to discuss tissue organization and neighbouring structures. The distinction between atlas anatomy and the particular dataset should remain clear throughout the presentation.
A professional presentation can progress from orientation to selected anatomical relationships, with enough time for participants to examine the material. The presenter can prepare a defined view sequence and then use interactive exploration to address questions. This approach keeps the session focused and allows the level of detail to follow the audience.
Shared sessions can support teaching between colleagues in different locations. Participants use the same visual reference to identify structures and clarify terminology. The case serves as material for professional education and anatomical communication.
Recorded walkthroughs can extend a presentation into reusable teaching material. Each recording can address a specific region or anatomical topic rather than reproduce an entire discussion. This supports revision and peer instruction within an existing educational programme.
Collaboration
Use TeamXR to present anatomical cases and discuss them with local or remote participants.
For instructor-led sessions, teacher mode provides control over participant interaction while the material is explained. A session can combine a prepared presentation with questions and shared exploration, allowing participants to return to the same views when clarification is needed.
Capture voice and 3D interactions with RecordXR for training and later discussion.
Get started
Test the software with representative data. Contact our team about supported devices, licences, and your intended use.
Begin with a dataset and session format that reflect your intended use. Check the required applications, viewing devices, group access, and preparation workflow before choosing a licence. This provides a practical basis for evaluating the setup in your own environment.