Tutorials
1
Activate licenses
Start free trial
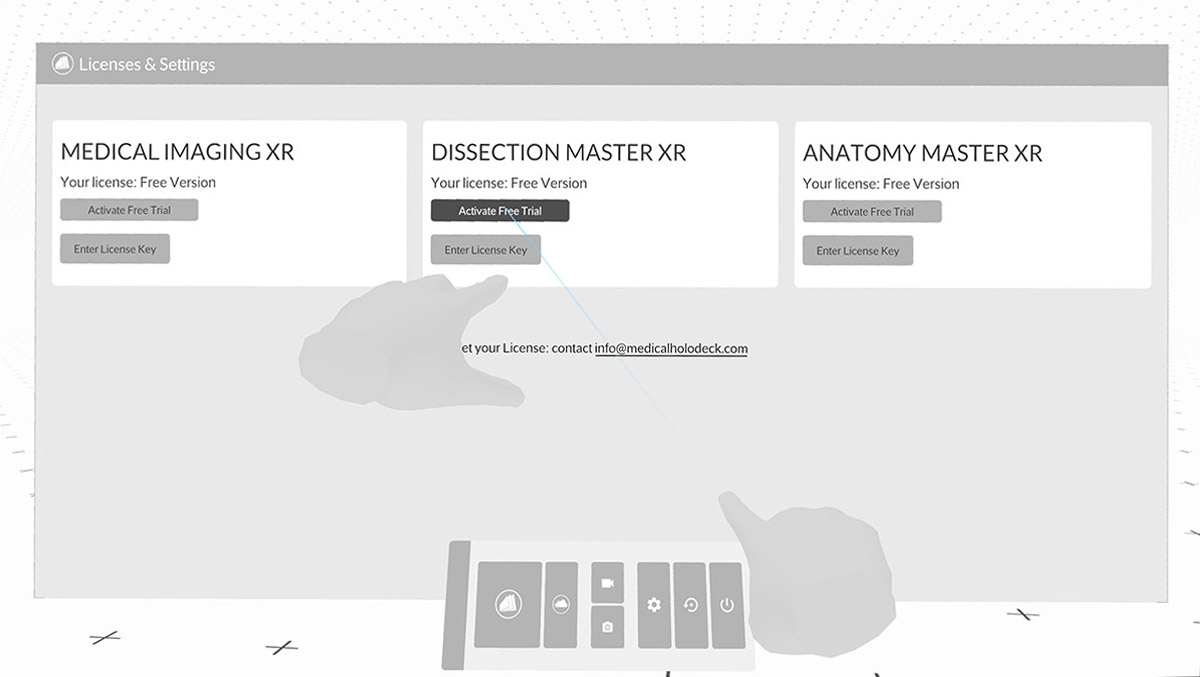
In VR, go to settings settings and click the 'Activate Free Trial' button.
Activating license keys on PC-VR systems
To activate the license keys, click the cogwheel icon to open the settings and navigate to the License tab. Select the Enter License Key button next to the application you want to activate. Copy the license key and paste it there from your clipboard. Confirm by clicking the Activate button. The license expiration date will be displayed.
Activating license keys on standalone
To activate your license key, first add your headset to Link. Choose the cogwheel icon from the Main Control pad to open the settings. Then go to the Licenses tab. Your code is displayed in the bottom-left corner. Visit medicalholodeck.com/link on your computer and enter the 6-digit access code in the window that appears. It will close and your headset will be listed as online.
Open the License Management tab and enter your license key for the selected application. Then click Activate License Key. Once activated, the license status will change to active and the expiration date will be displayed.
3
Capture screenshots and videos
Capture screenshots and videos directly from inside the Medicalholodeck app.
To take a screenshot, press the ‘X’ button on your left controller or press the camera icon on the Main Control Pad with the right trigger. A preview will appear on your left wrist.
To start recording what you see in VR, click the record button on the pad. The icon will turn red while recording. Click the button again to stop.
All screenshots and videos are saved in high definition – 1920 by 1080 – on your desktop.
These functions are available only in the PC-VR mode or in the Remote Rendering app. On standalone, press the Oculus button and select ‘Take Photo’ or ‘Record Video’ option from the application panel.
4
How to add your device to Link
Add your standalone headset to Link to manage your files and licenses from your computer.
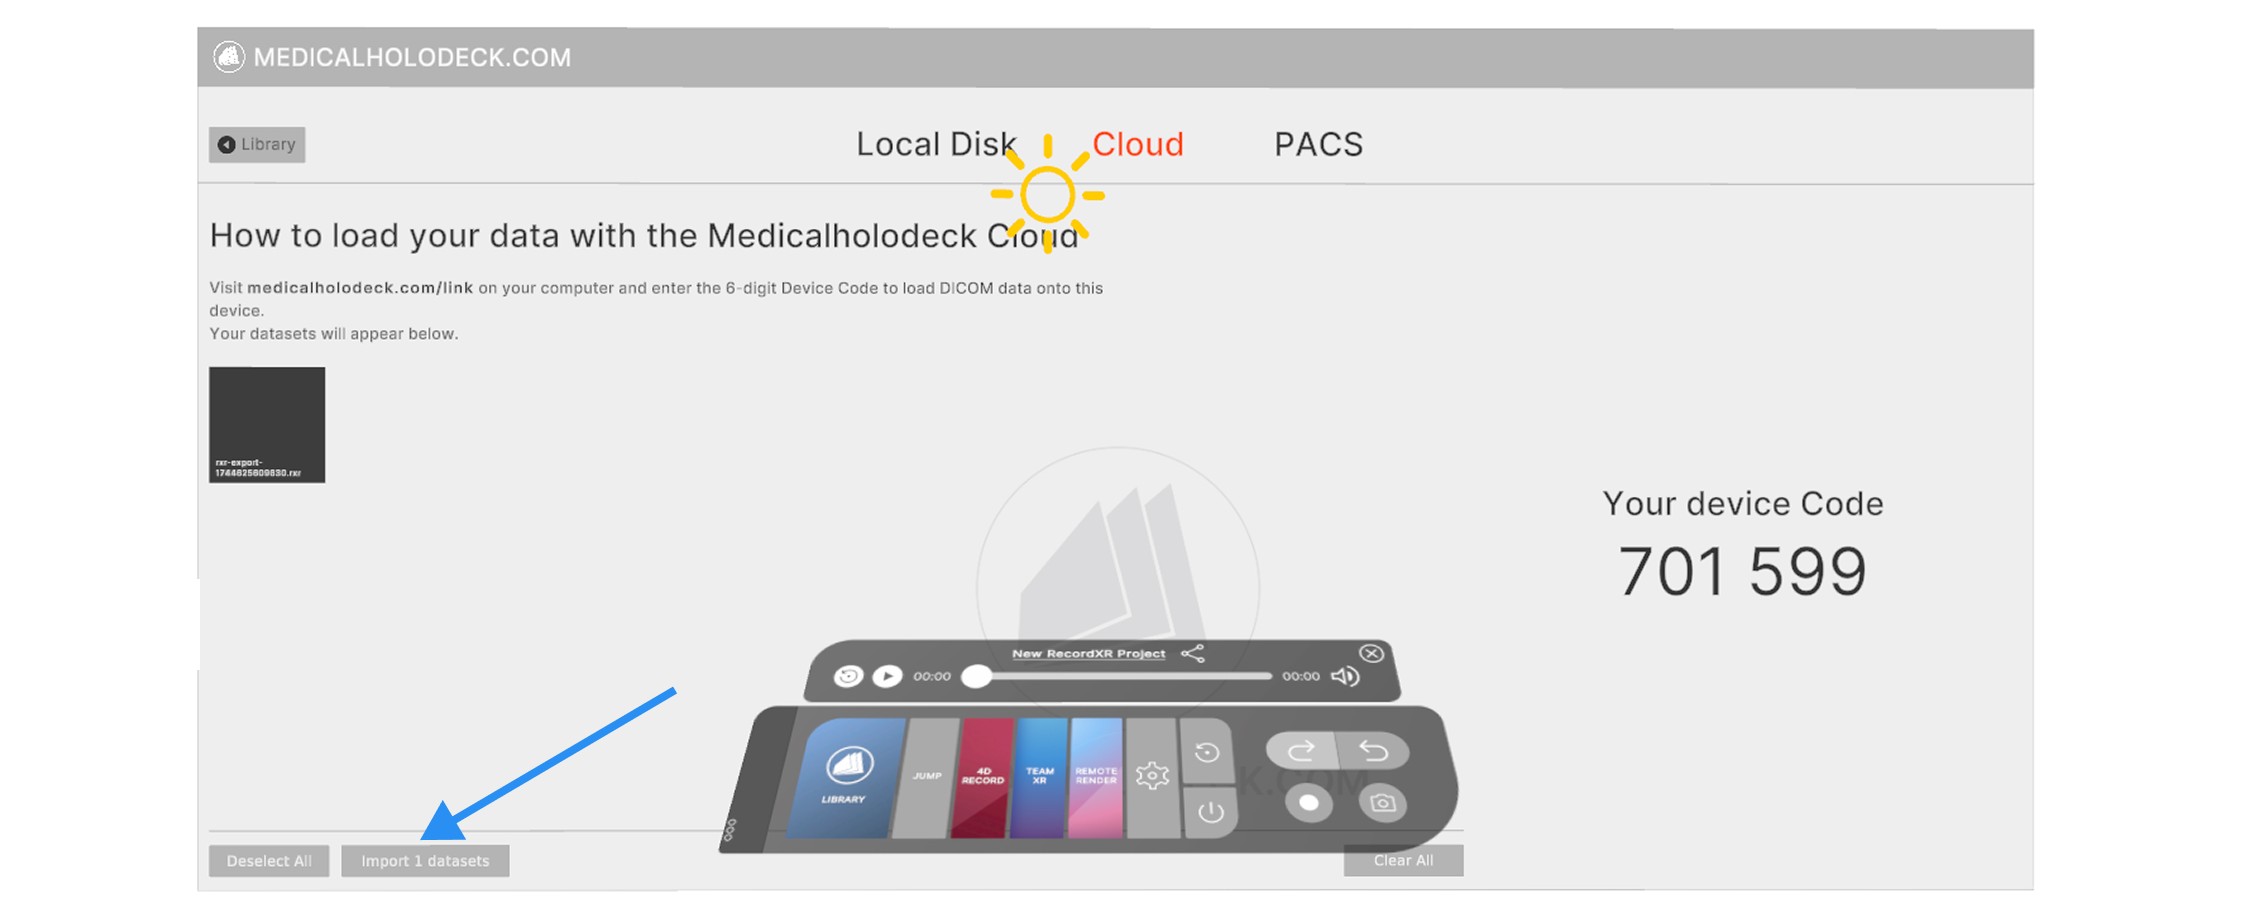
In the Medicalholodeck app, select the import function from the Medical Imaging section of the library. Choose the Cloud tab and find the 6-digit access code on the right side of the window.
Alternatively, choose the cogwheel icon from the Main Control pad to open the settings. Then go to the Licenses tab. Your code is displayed in the bottom-left corner.
Visit medicalholodeck.com/link on your computer and enter the 6-digit access code in the window that appears. It will close and your headset will be listed as online.
Click Link Device to add another device. Use the corresponding buttons to switch between their panels.
5
Uploading data from your computer to your headset
- Connect your device to Link. See here how to link your device.
-
On the dashboard navigate to the
upload section.
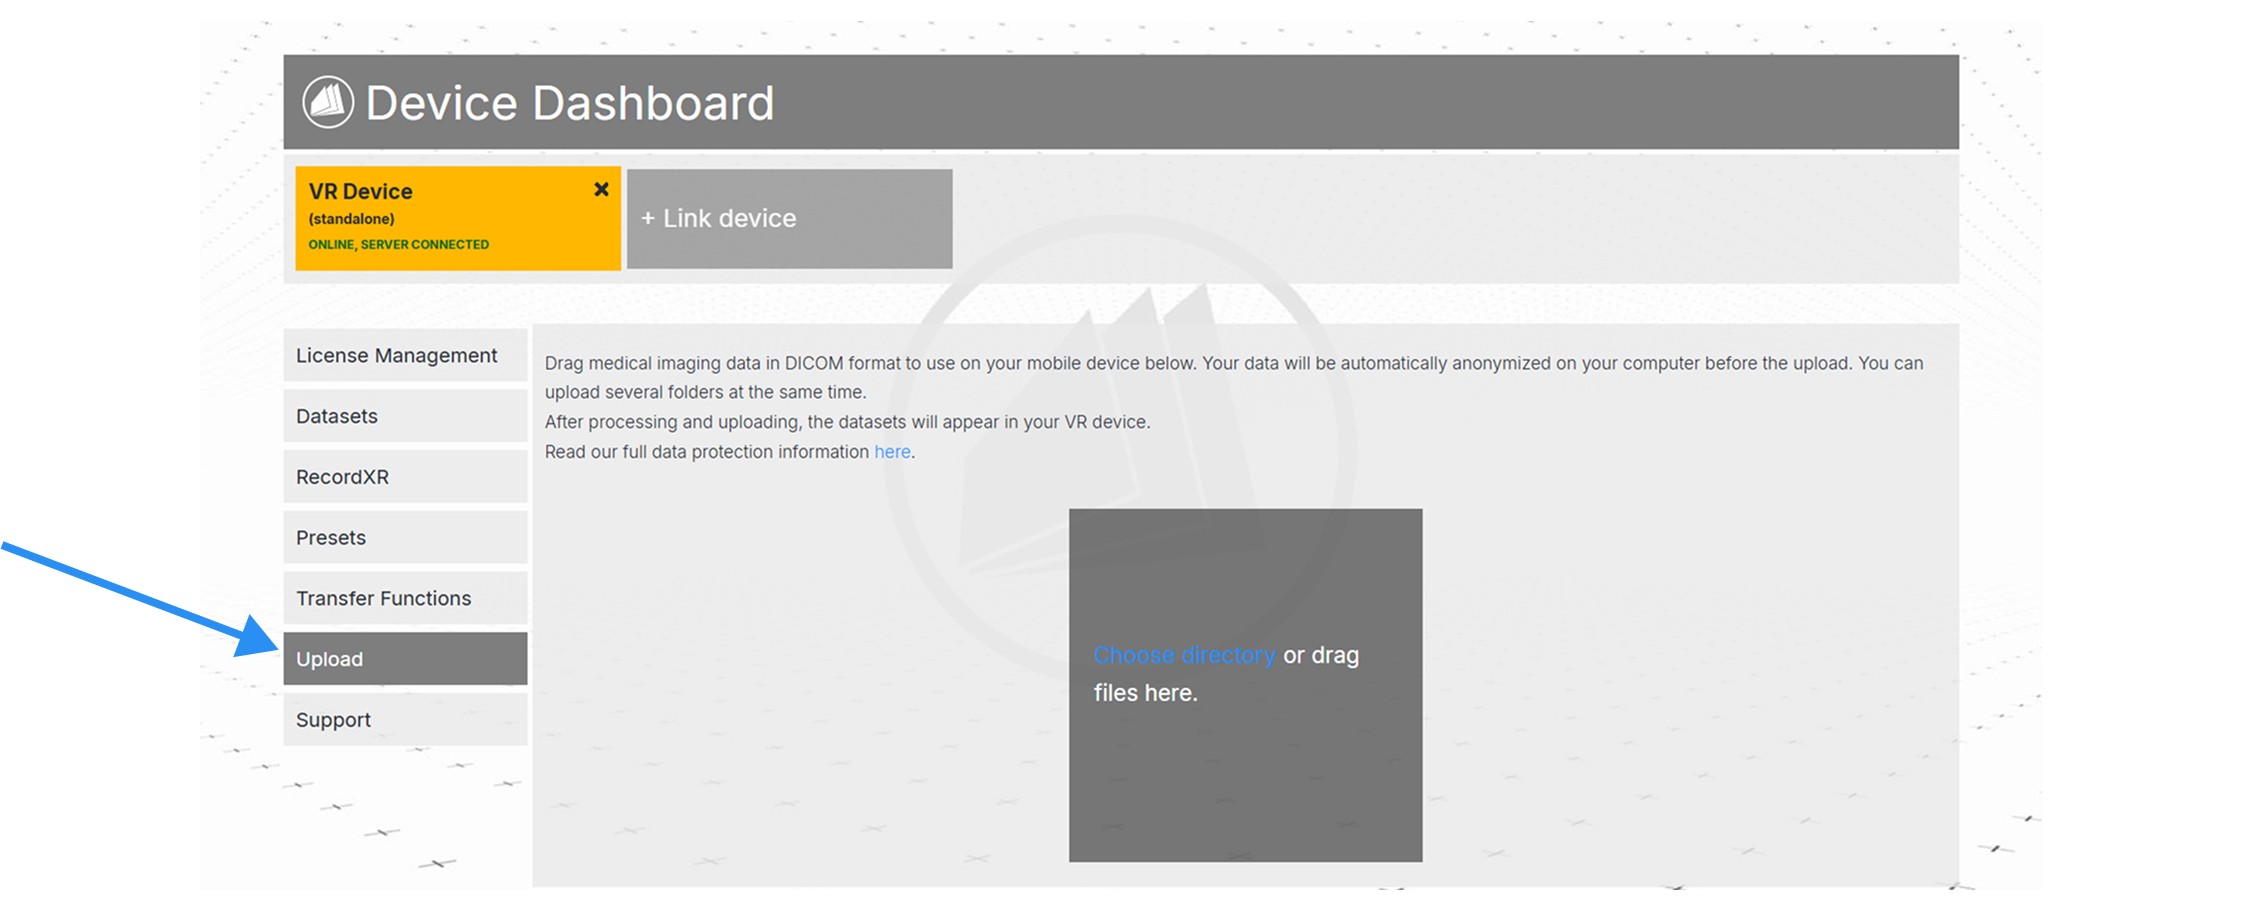
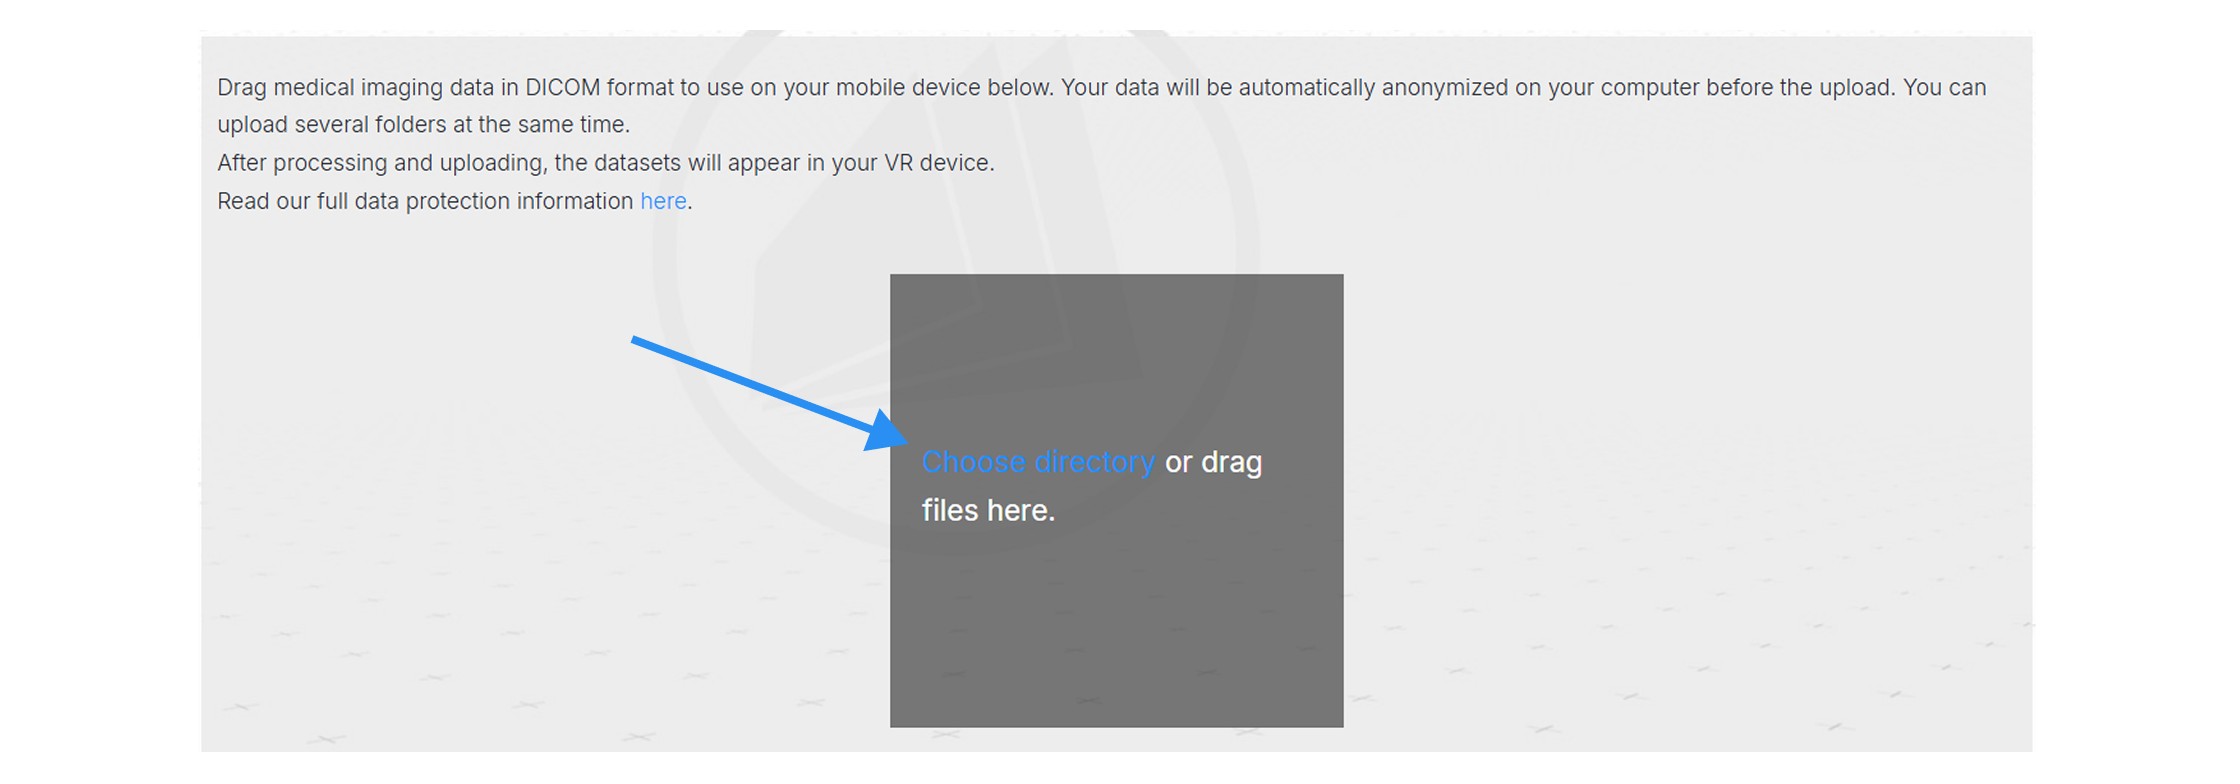
-
Drop the file in the designated section or click
choose directory to load from your computer.
- To complete the process, continue in your headset.
- Select the data you wish to import or click on the select all button.
-
Then click the import datasets button.
6
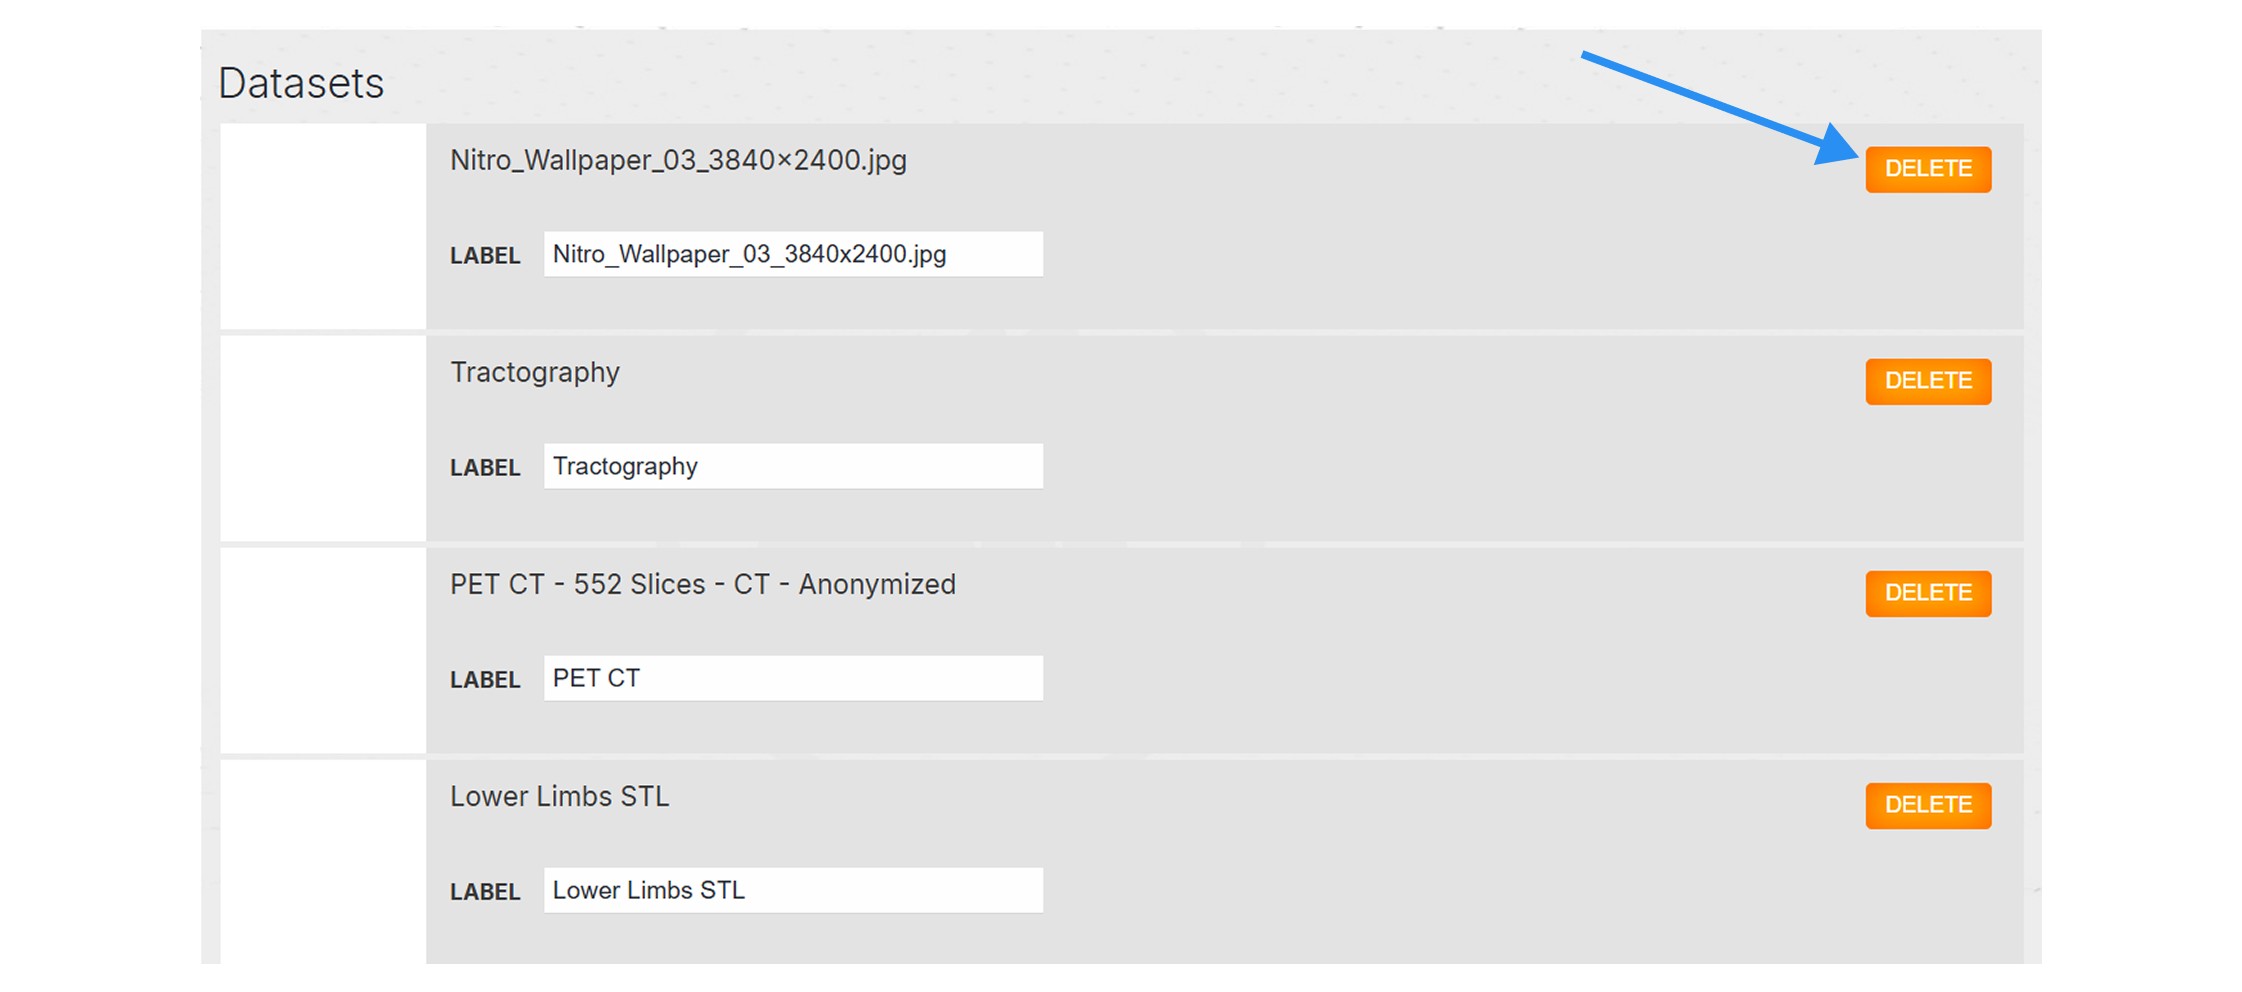
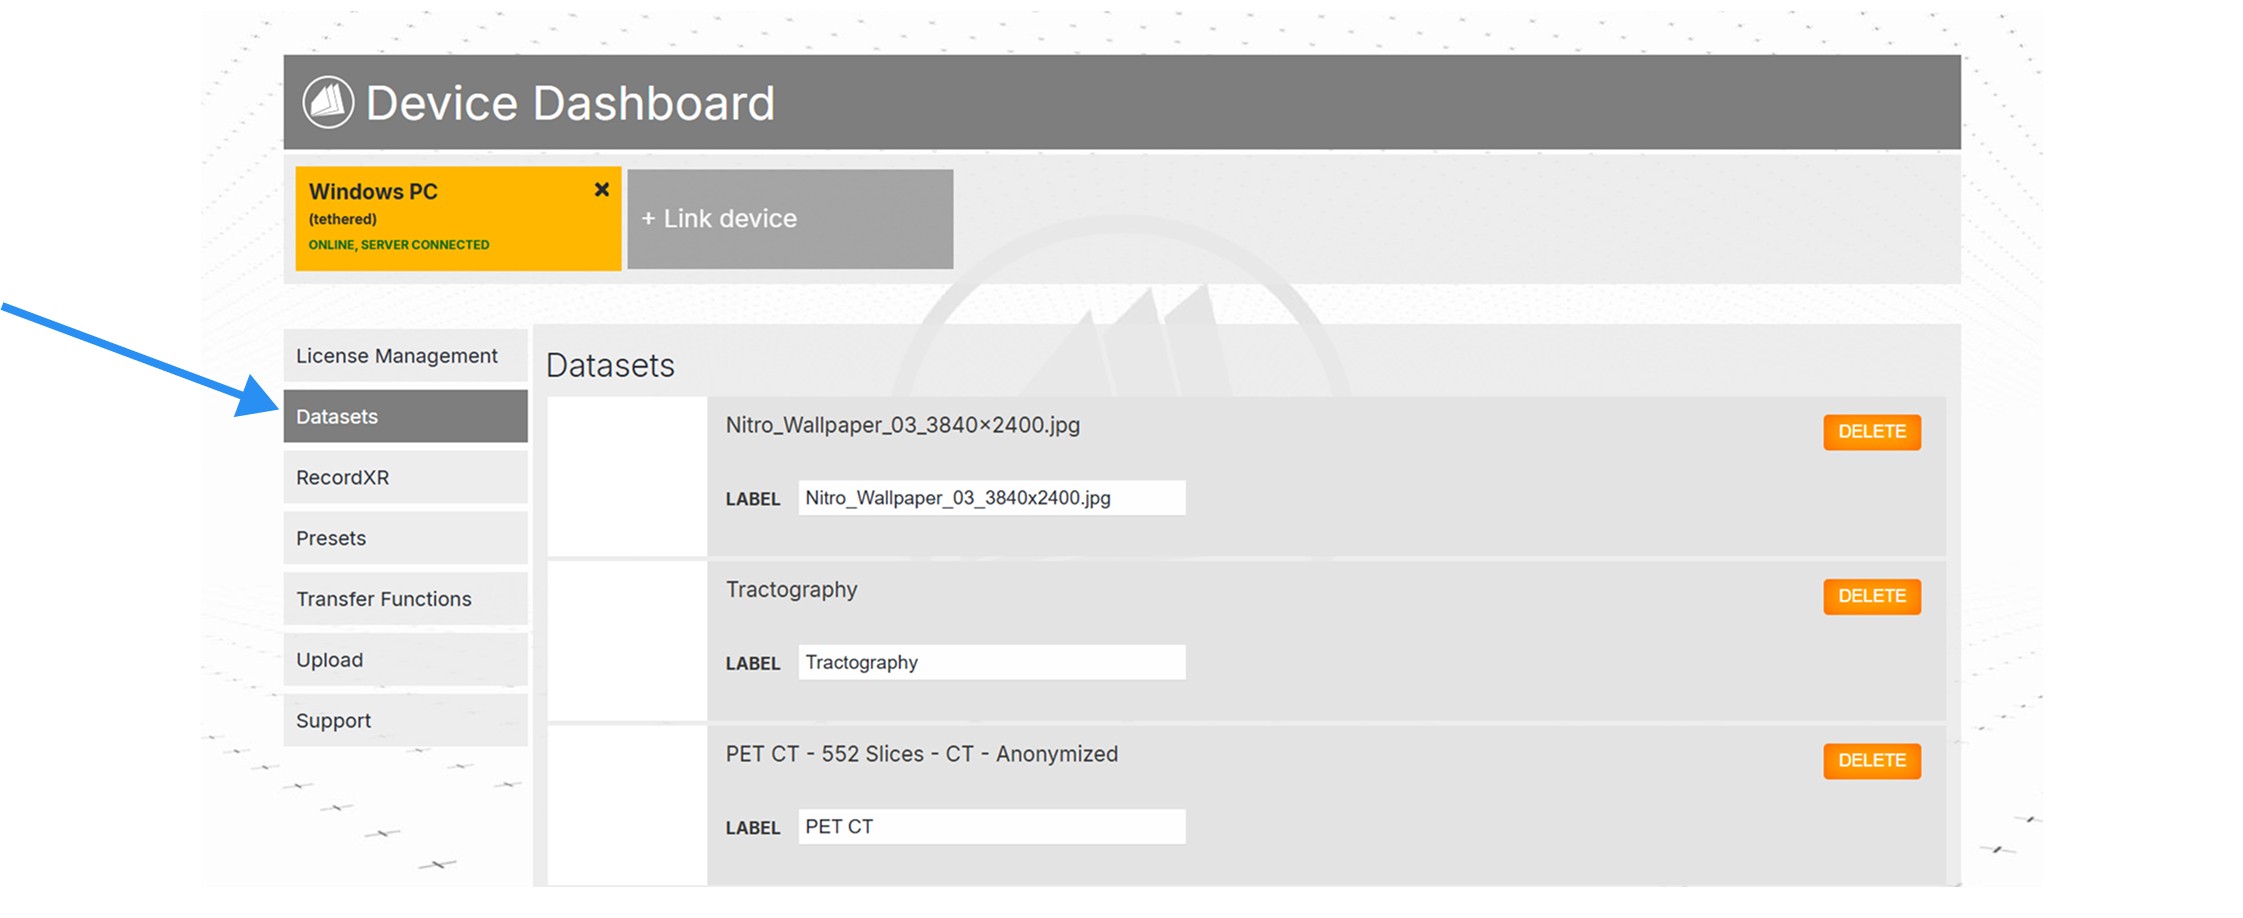
Accessing files via Link
You can edit metadata for datasets, RXR recordings, presets, and transfer functions. You can also remove files from here.
- Connect your device to Link. See here how to link your device.
-
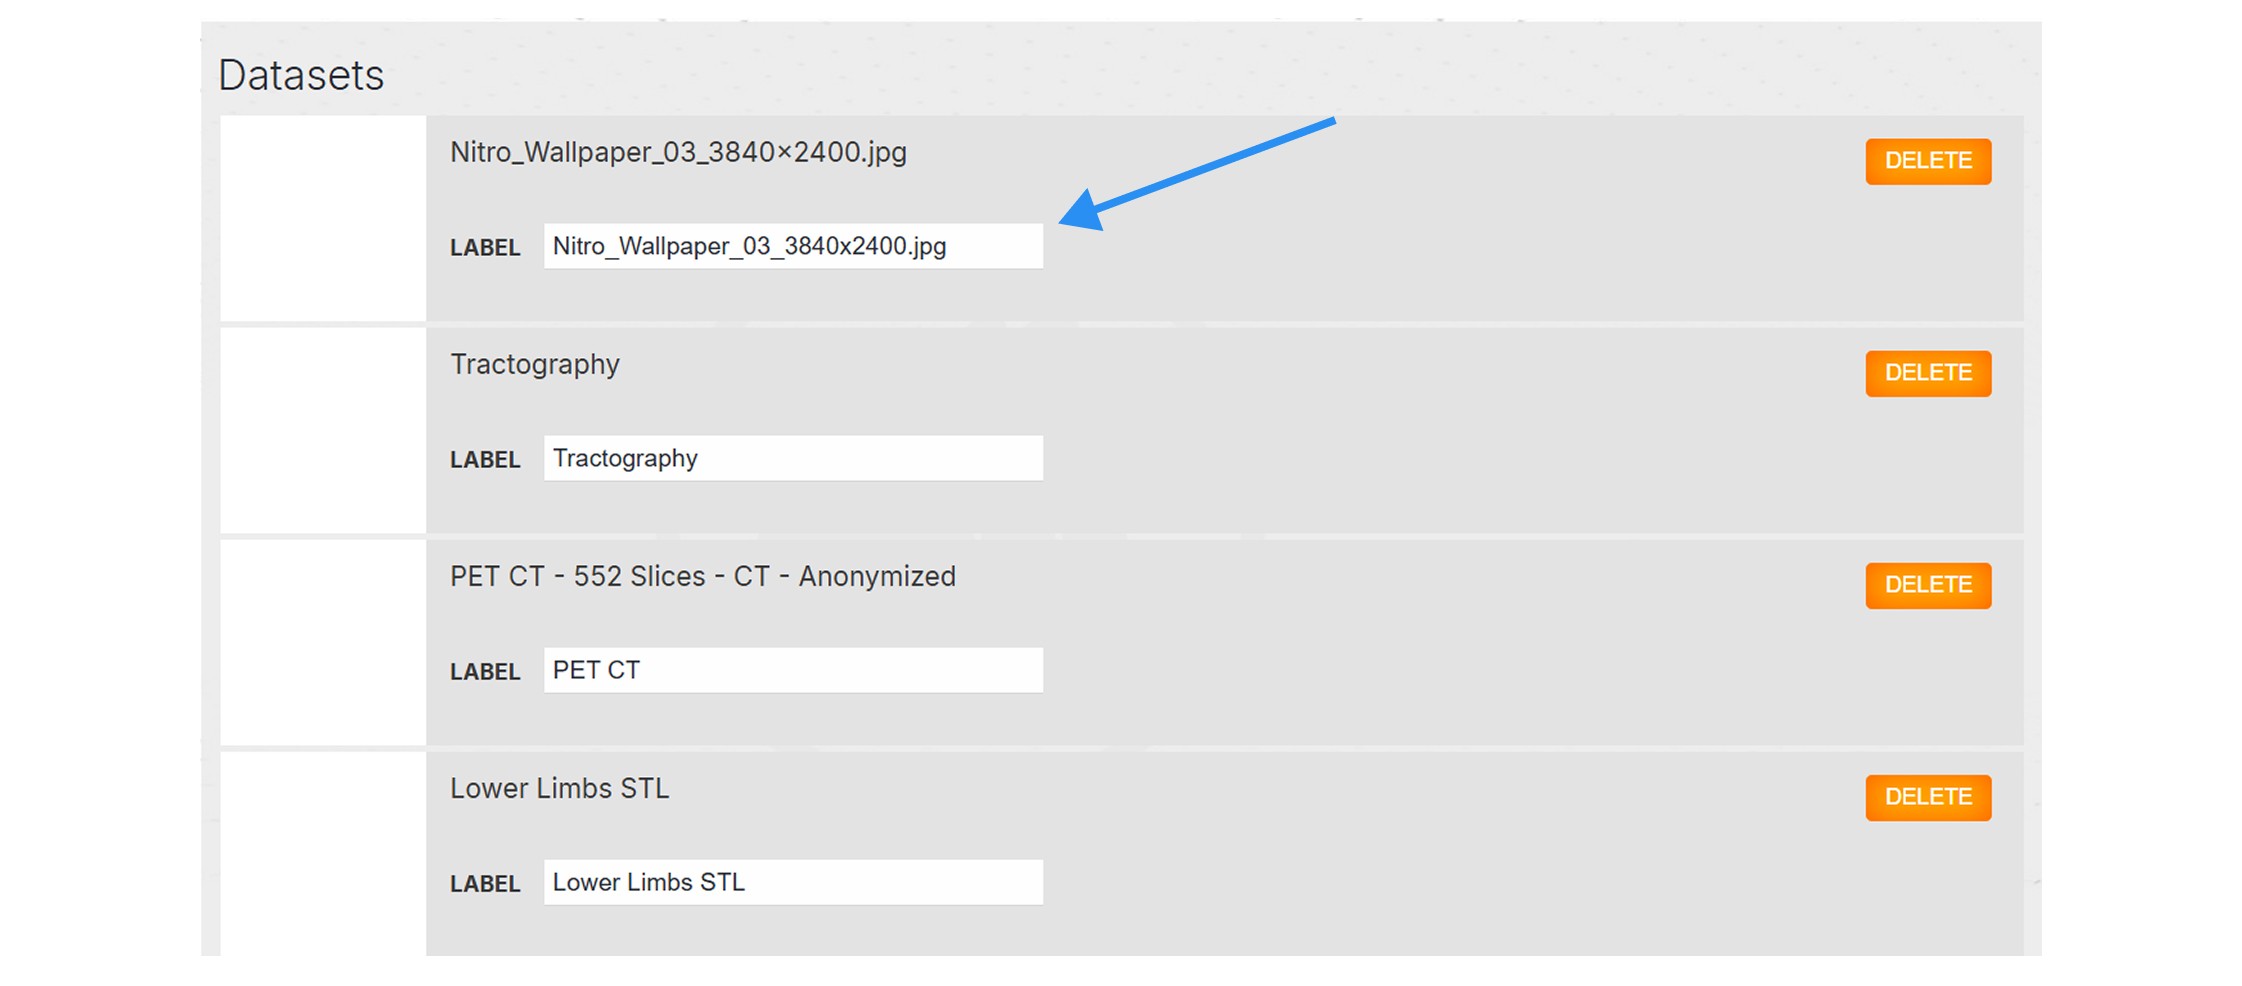
On the dashboard navigate to the datasets.
-
You can edit the file feature in the text field named label.
In case of datasets - name.
-
To delete a file press the delete button on the
right.