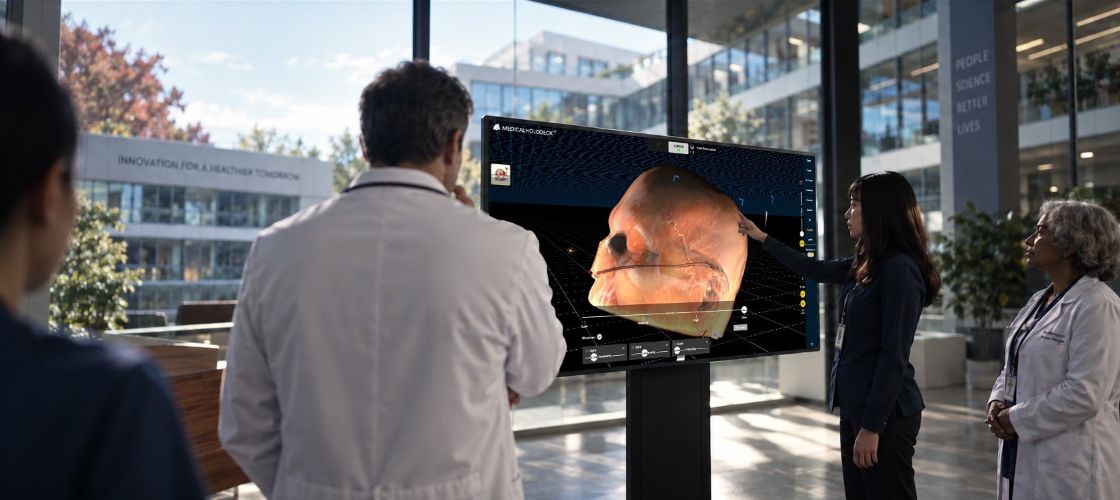
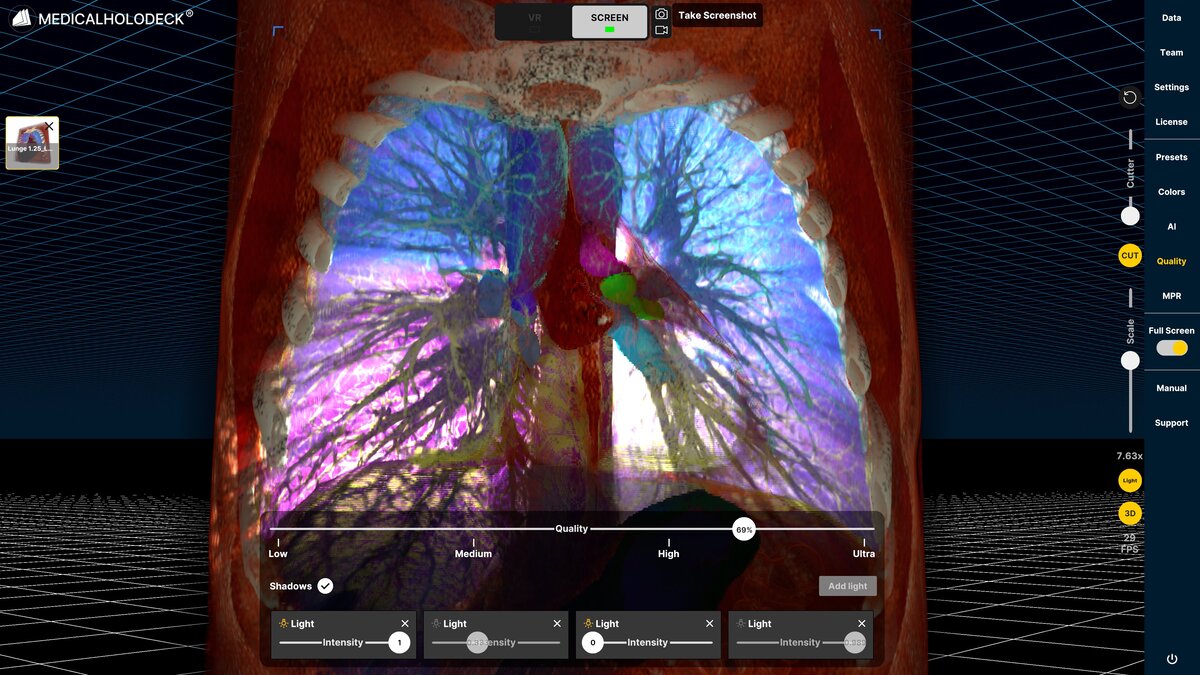
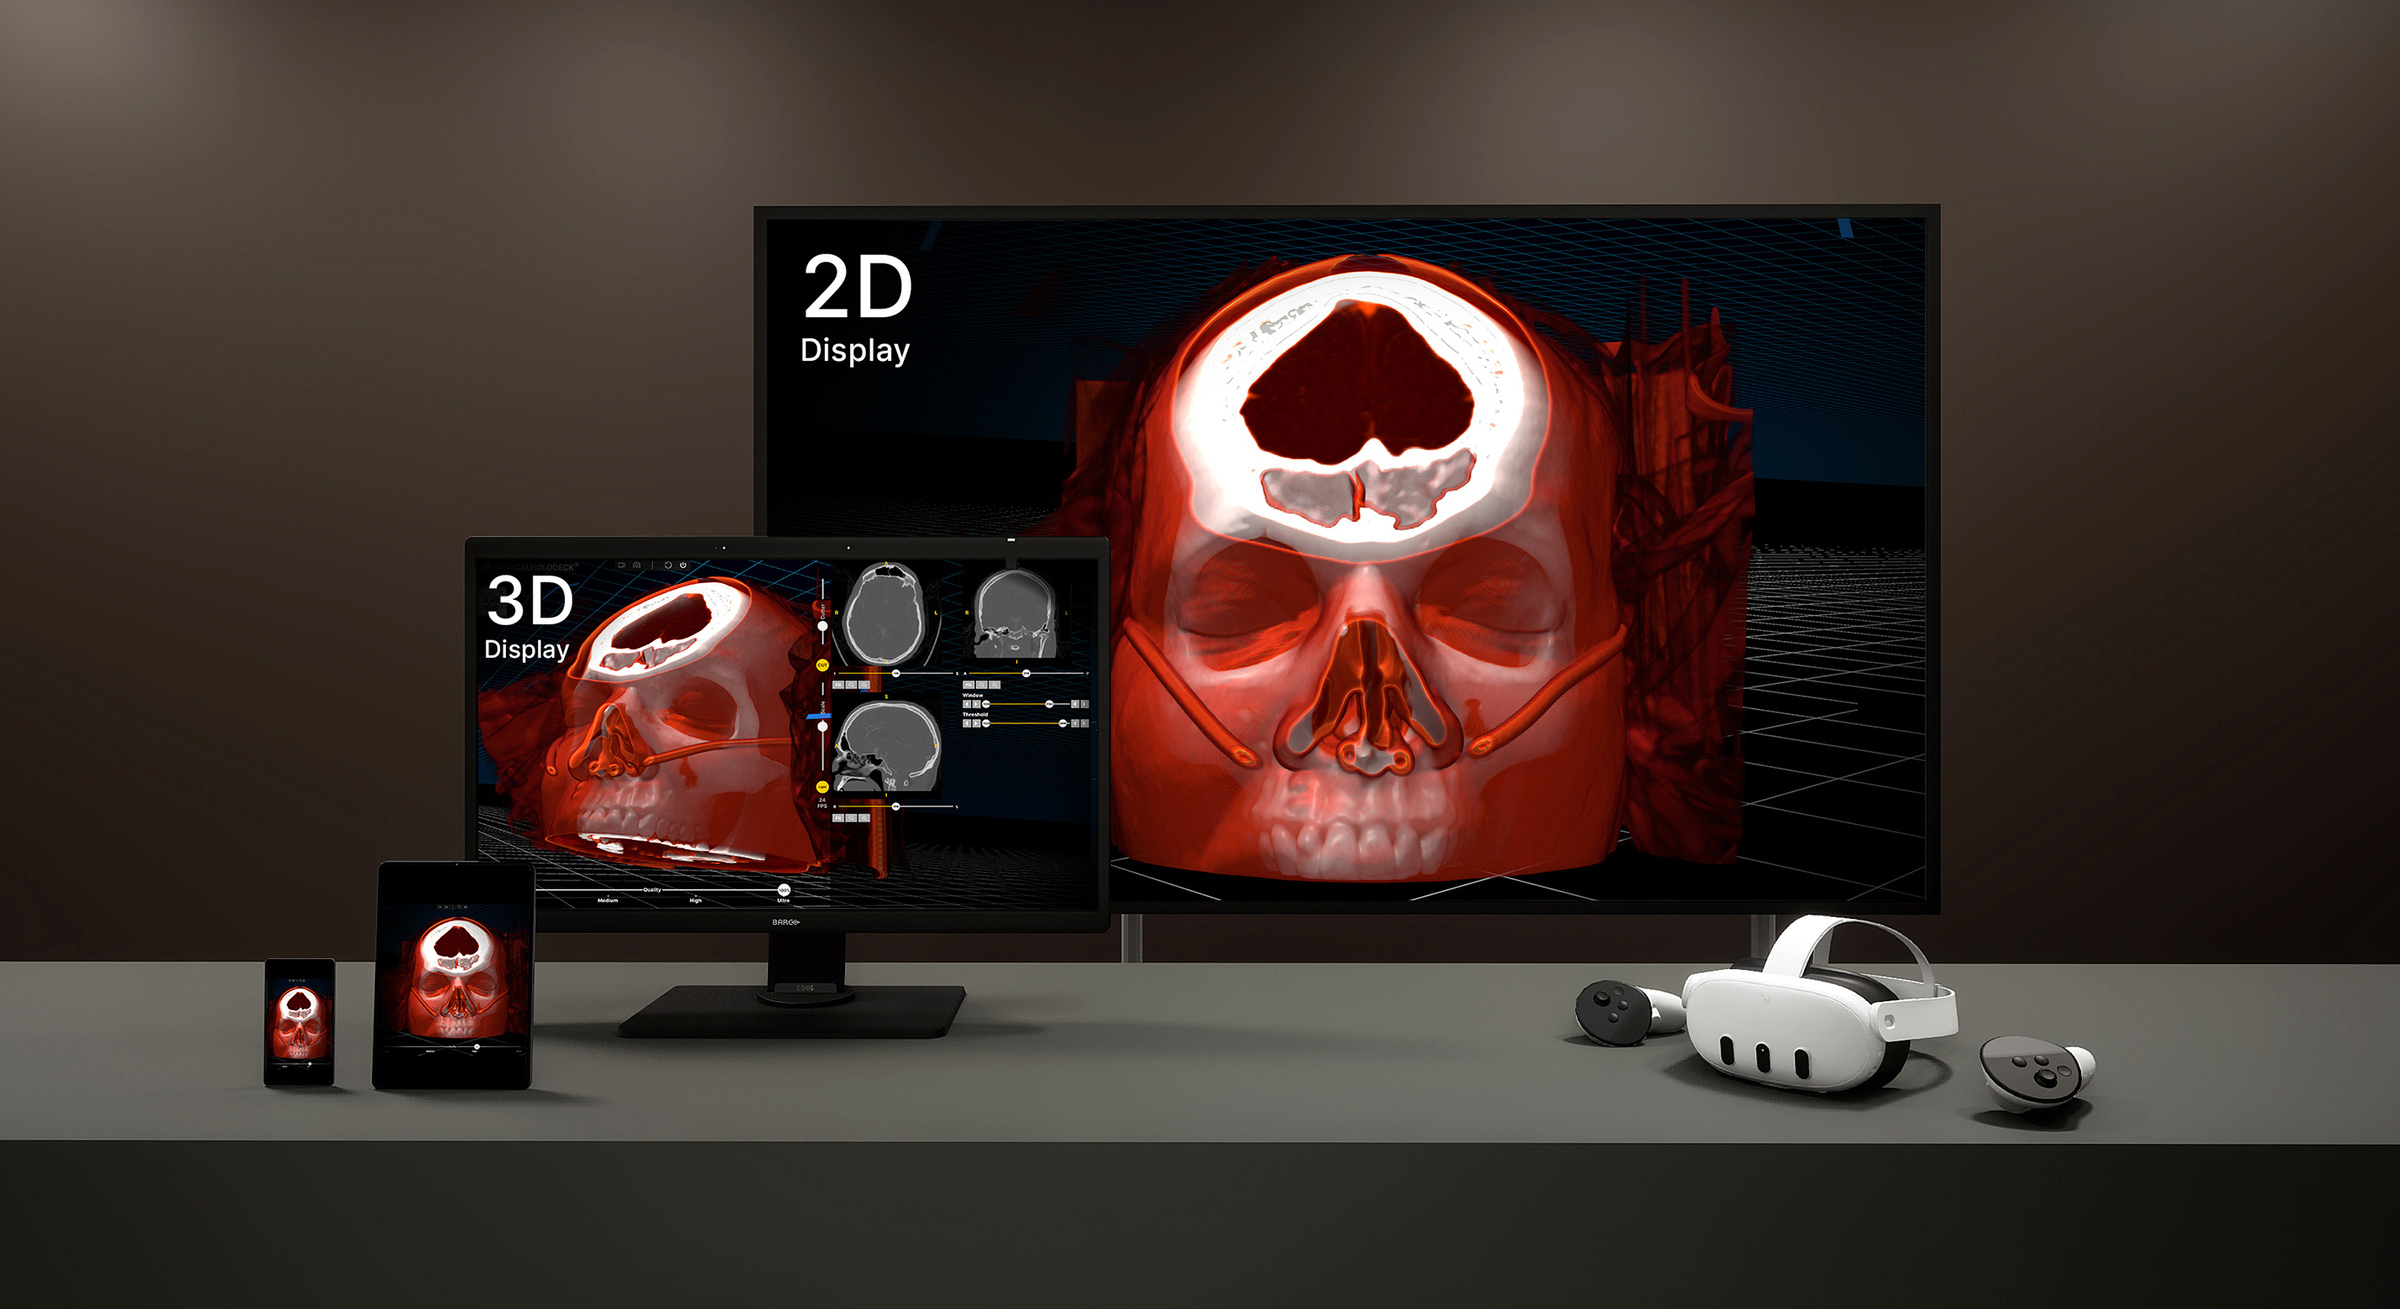
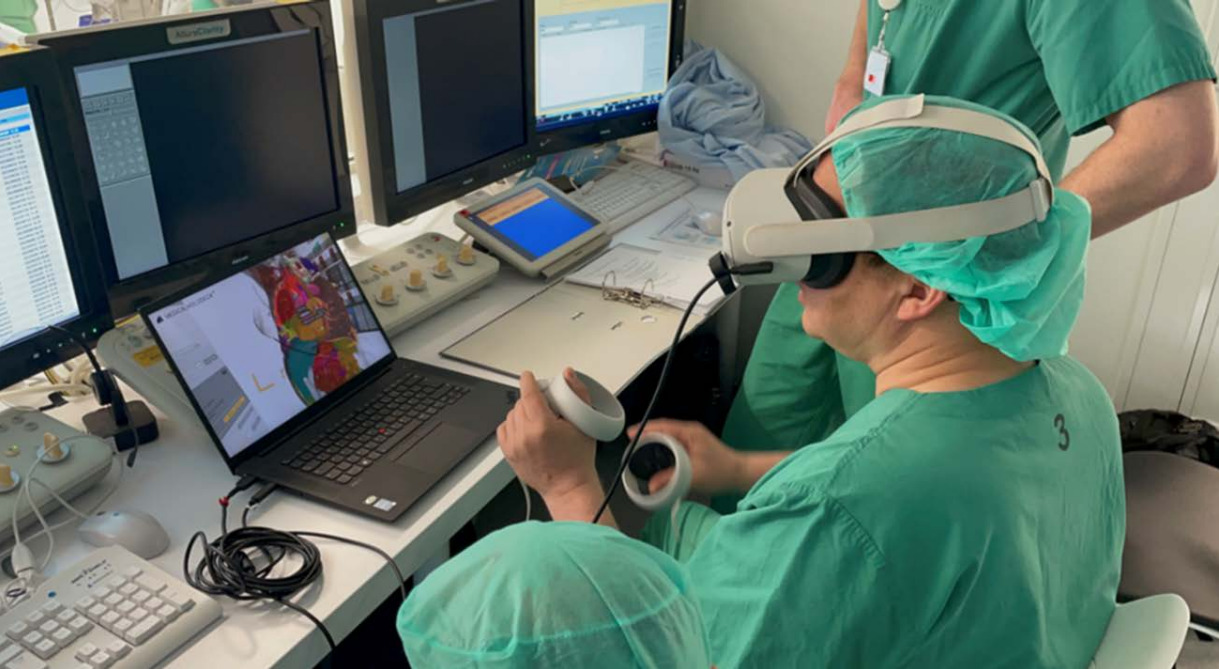
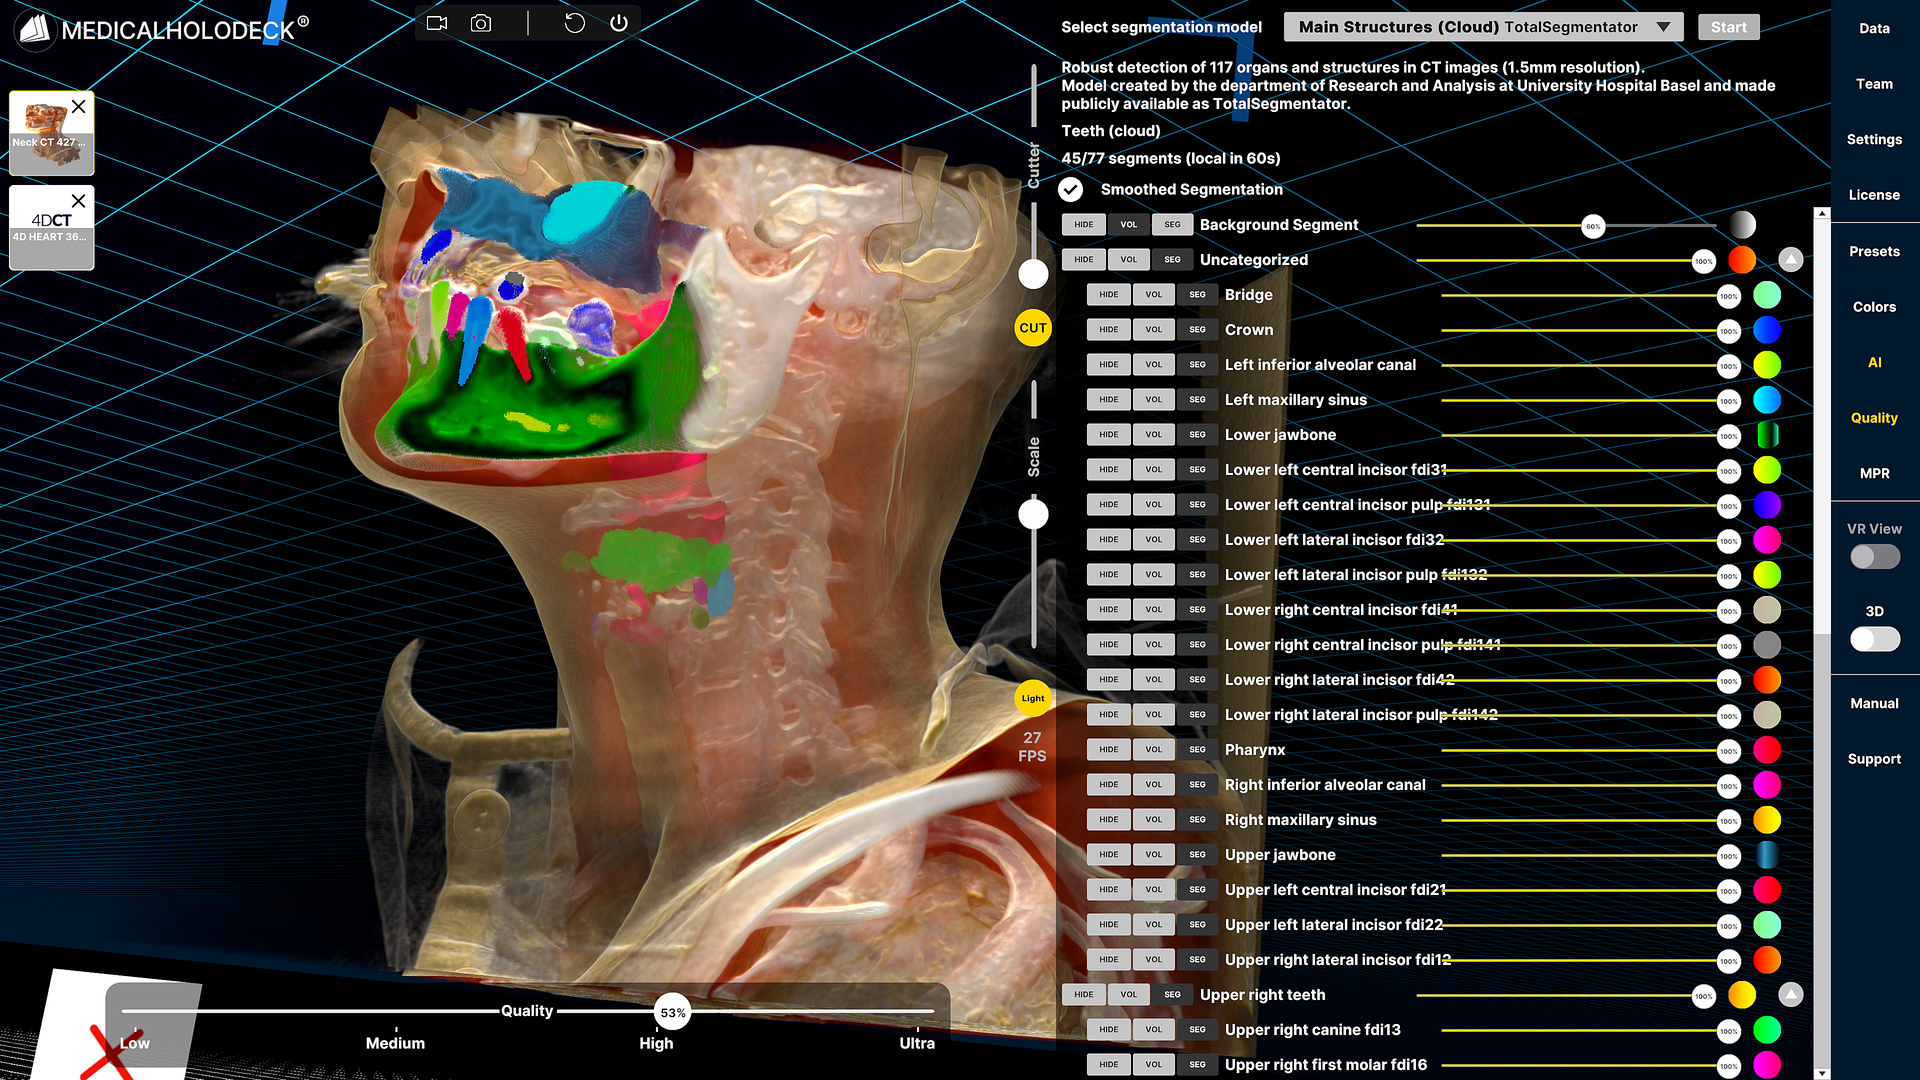
A touchscreen gives the group a shared view. An autostereoscopic display shows anatomy in 3D without glasses. VR lets participants examine it from their own perspective. Medicalholodeck Spatial OS brings these options into the same session.

Spatial imaging for VR, 3D screens, and touchscreens
Touch. Depth. Immersion.
Connected by Spatial OS.
Different views for different parts of a session
When you explain anatomy to a group, everyone needs a clear view of what you are discussing. But a presentation only takes you so far. A student may want to look behind a structure, examine a contour, or understand how two structures sit in relation to one another.
Touchscreens, autostereoscopic 3D displays, and VR each help with a different part of that process. In Spatial OS, they can be used alongside one another with access to the same medical imaging and 3D anatomy.
An instructor can lead the discussion on a touchscreen while participants examine the content on a compatible 3D display or in VR. The choice of display can change as the questions become more specific.
Spatial OS
Shared medical imaging and 3D anatomy
Touchscreen
Present to a group
Control the content directly
on the shared display.
Autostereoscopic 3D
See 3D without glasses
Examine contours and the
relationships between structures.
Virtual reality
Choose your own viewpoint
Examine the same anatomy
from different angles.
Use the touchscreen to guide the discussion
A touchscreen is a useful starting point for a teaching session. The instructor can work directly with the content on a Windows-compatible display while explaining what the group is looking at. A desktop touchscreen suits a small group; a larger interactive display gives a classroom or simulation lab a shared point of reference.
Start by orienting the dataset and identifying the structures you want to discuss. Keeping this part of the session on a shared screen makes it easier to follow questions and return to a particular view when someone needs another explanation.
See depth on an autostereoscopic display
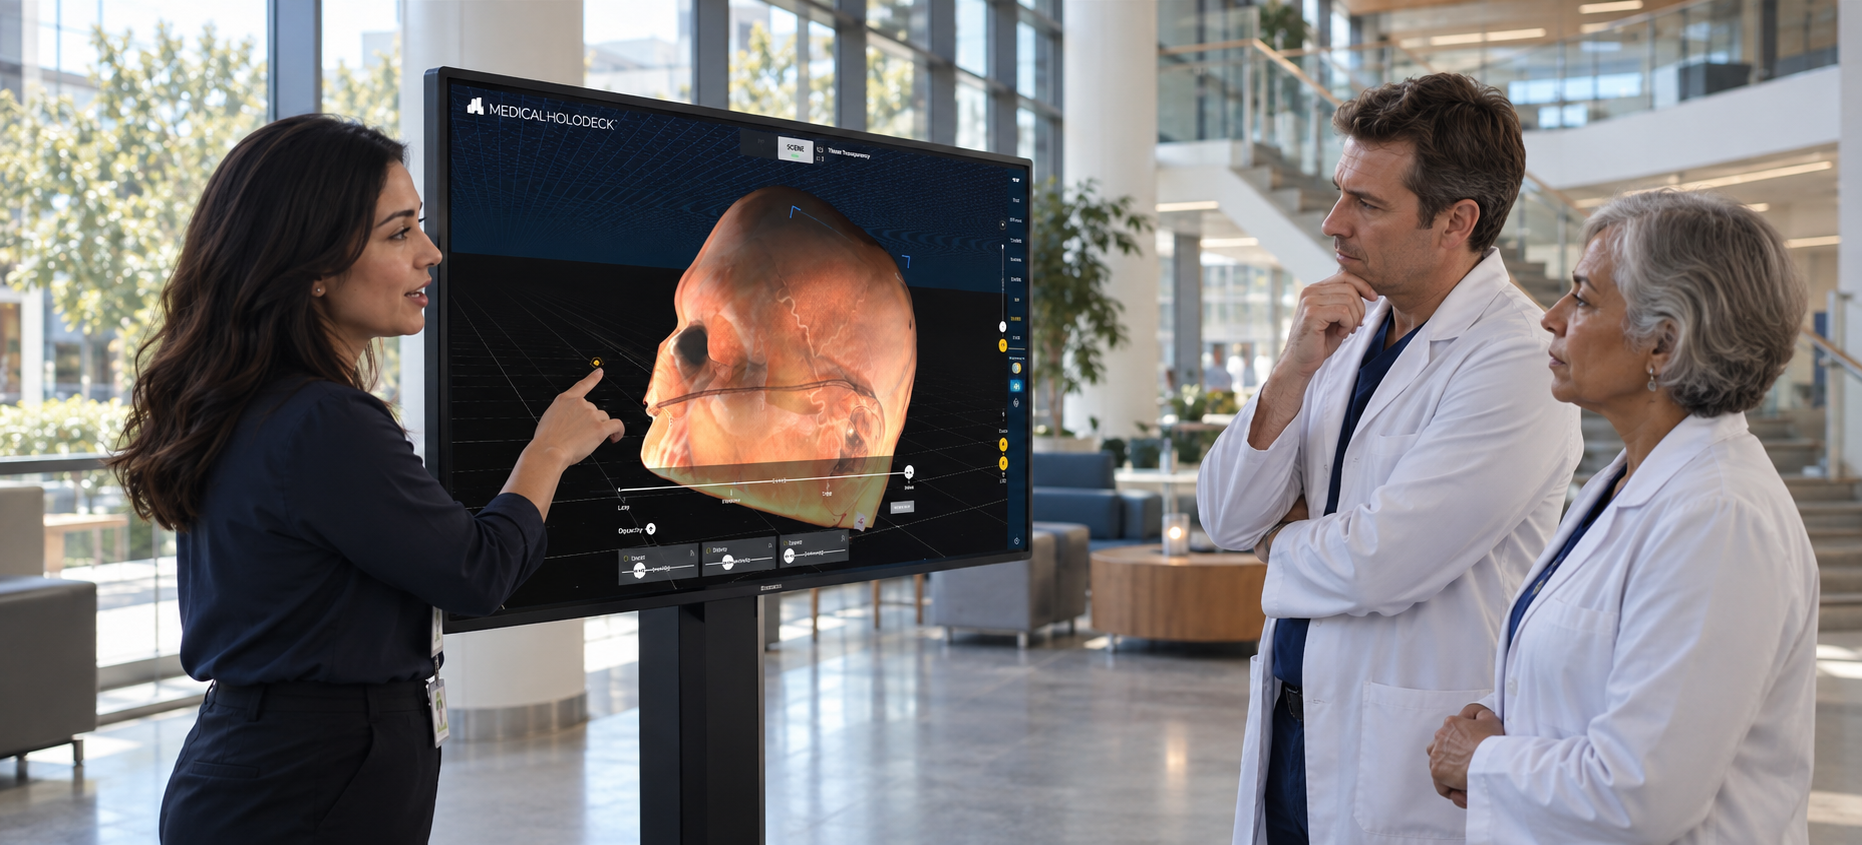
An autostereoscopic display presents a stereoscopic 3D image without requiring special glasses. It offers a way to examine depth and spatial relationships while staying at a screen, with the room and the people around you still in view.
That can be useful when a discussion moves from identifying a structure to understanding its shape or position. For an installation, check the supported viewing positions and number of viewers for the chosen display. These characteristics depend on the hardware and affect where the screen should be placed and how people use it.
View hardware and configurations
Use VR for a closer, individual look
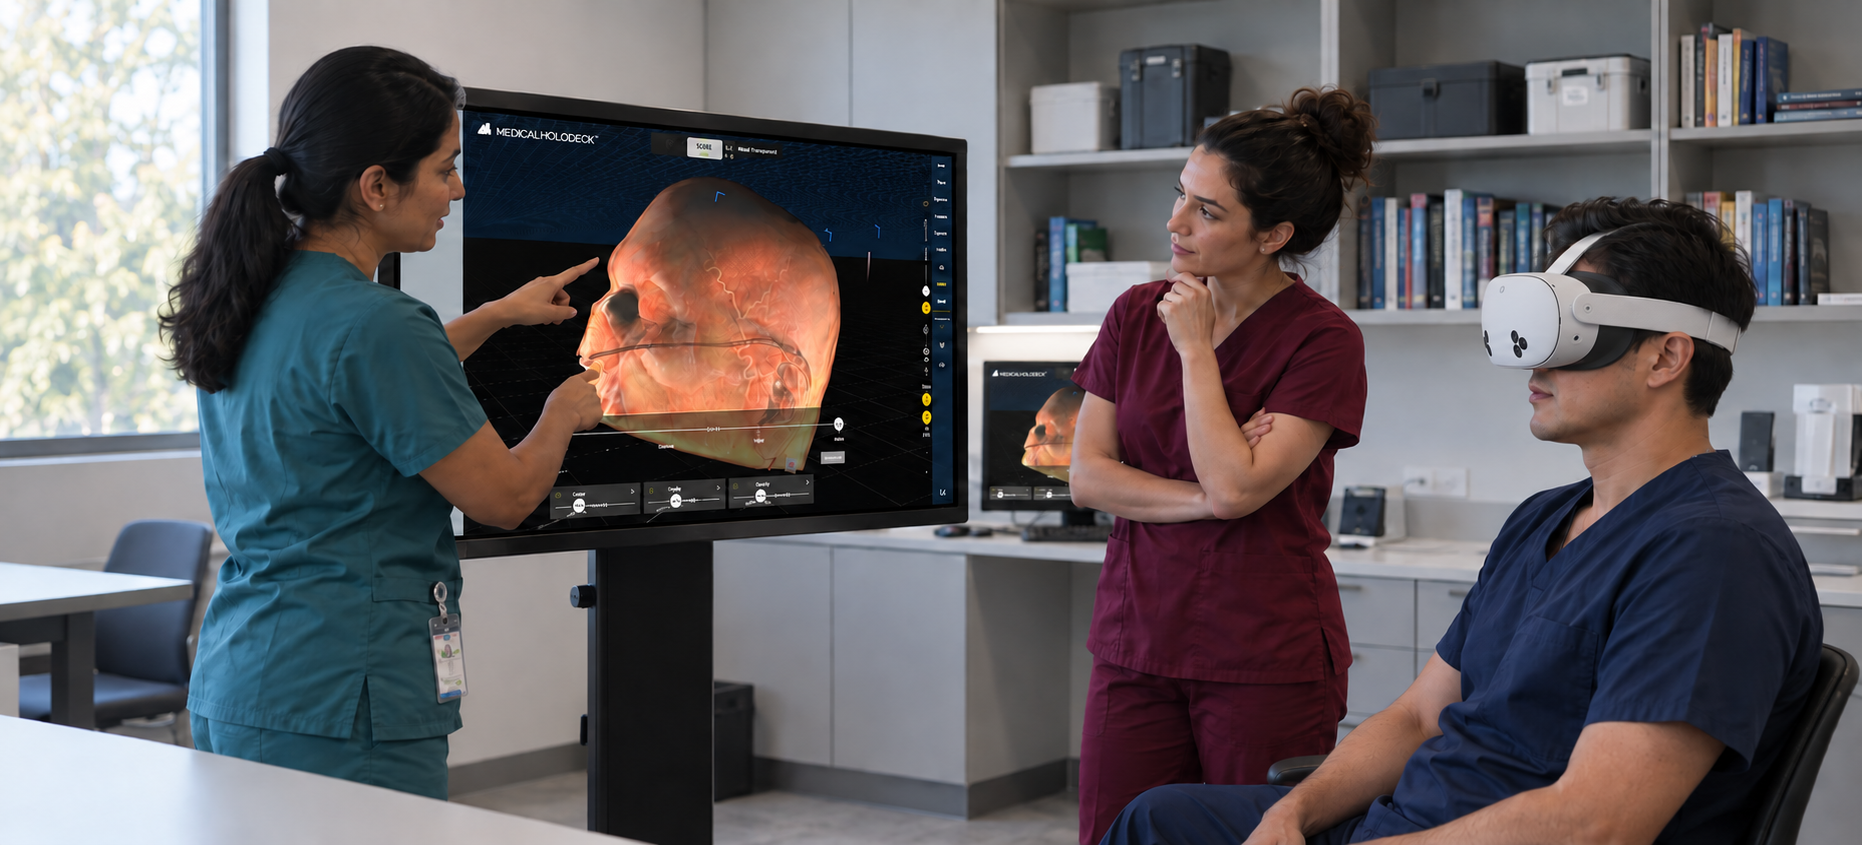
VR gives participants their own viewpoint within the 3D scene. They can examine the anatomy from different angles while colleagues or students continue to follow on a display.
For teaching, this creates room for individual investigation within a group session. An instructor can set a question on the touchscreen, give participants time to examine it in VR, and then bring everyone back to the shared view to compare observations.
How this can work in an anatomy class
Consider a session focused on the relationship between adjacent anatomical structures. The group can work through the same dataset in several ways:
Establish orientation on the touchscreen.
Introduce the dataset, identify the relevant structures, and explain the question the group will investigate.
Examine depth on the 3D display.
Use the autostereoscopic screen to look at contours and the relative positions of the structures.
Investigate from different angles in VR.
Let participants choose their own viewpoints and examine the areas they find difficult to understand from the shared view.
Discuss the findings together.
Return to the touchscreen, compare observations, and use measurements or annotations on the volume rendering to support the discussion.
There is no need to use every display in every session. A short demonstration may only need the touchscreen. A session focused on spatial relationships may benefit from time on the 3D display or in VR.
Plan the room around the people using it
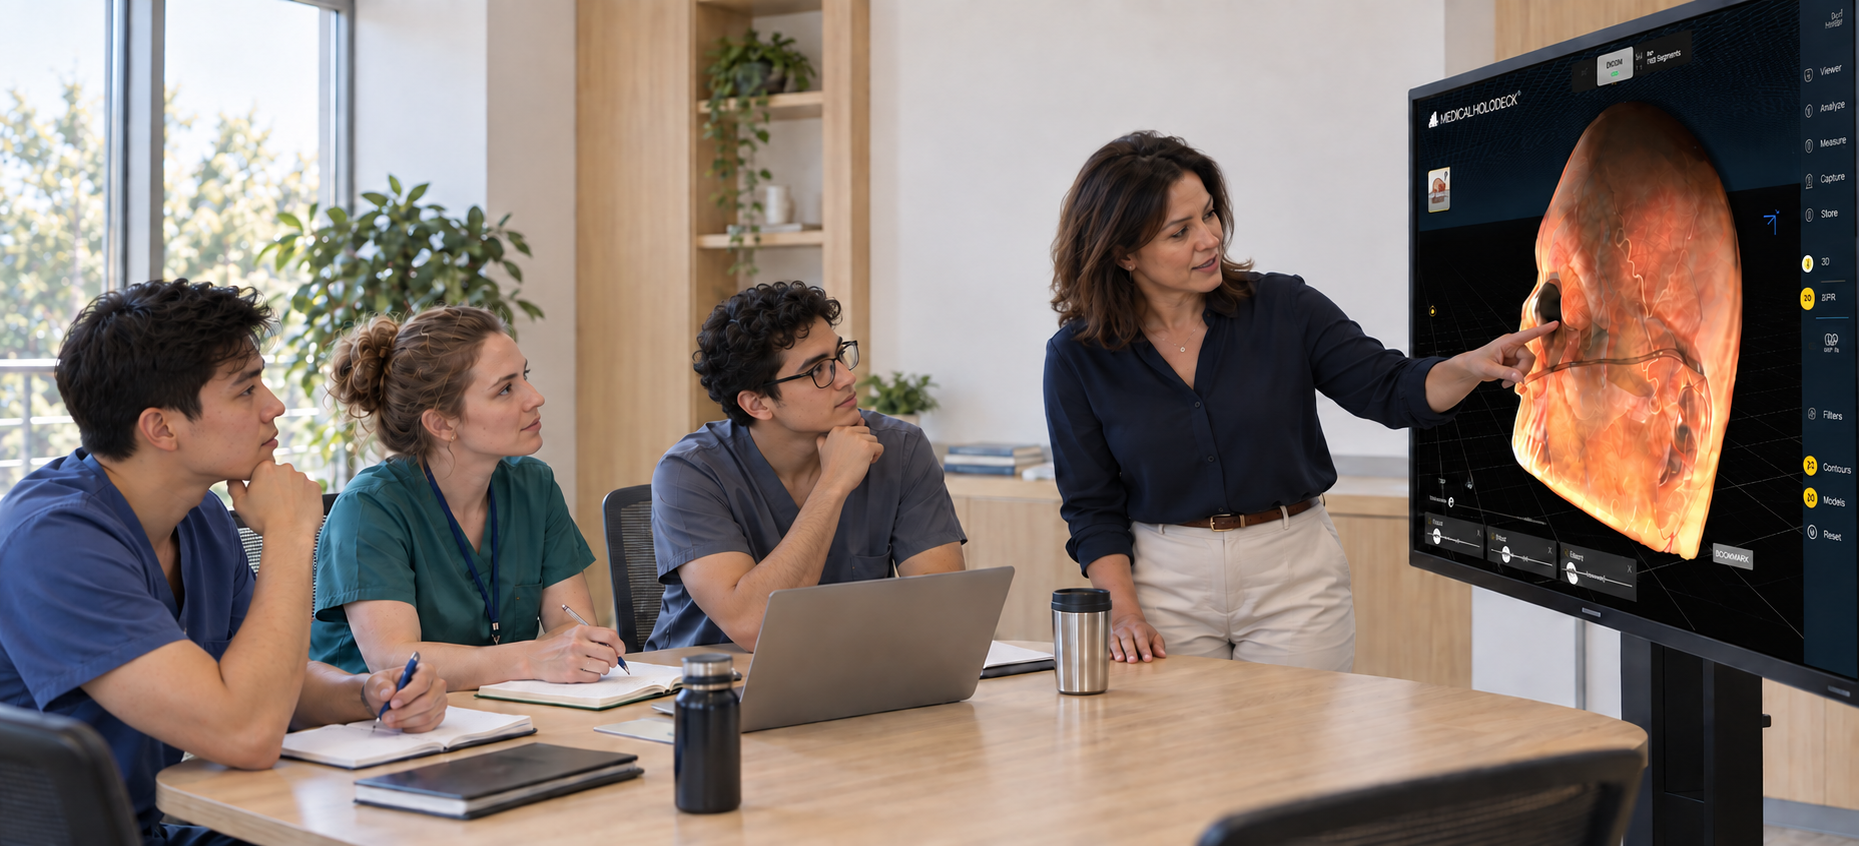
For medical educators and IT teams, the practical questions come first: How many people need to see the shared screen? Who needs to control the content? How many participants will use VR at once? Where will the autostereoscopic display be comfortable to view?
It also helps to distinguish screen mirroring from participation in a shared session. Additional displays can mirror the presented view for a larger audience. Participants with independent viewpoints can look at the same content from their own angle. These serve different purposes when planning a teaching room.
Choose compatible displays, headsets, and Windows workstations around those requirements. The aim is a setup that lets instructors move easily between explaining something to the group and giving participants time to examine it themselves.
Discuss a setup for your teaching space
Medicalholodeck Spatial OS supports teaching, training, and research with medical imaging and 3D anatomy. If you are planning a classroom or simulation lab, our team can help you discuss compatible hardware and how the displays and headsets will be used together.
For more information, contact info@medicalholodeck.com