
1. Spatial OS
1.V1.9-01
Spatial OS is the operating system for spatial medical imaging and visualization. It is available on Windows PCs.
It supports glasses-free stereoscopic 3D displays, virtual reality headsets, and standard 2D screens simultaneously from a single computer. Clinical teams can view and work with patient data together in the same spatial environment.
Spatial OS transforms DICOM into clear, interactive 3D visualizations.
The platform is designed for everyday hospital workflows and supports medical communication in a shared spatial workspace.
- One platform for glasses-free 3D, Virtual Reality, and 2D displays
- 3D visualization for case review, discussion, and training
- Fast, precise, and secure AI segmentation
- Local processing and segmentation, PACS connectivity, and HIPAA-compliant security
1.A Quick start
1.A.V1.9-01
1.A.1
Running Spatial OS
1.A.1.V1.9-01
Spatial OS runs on Windows computers and lets you work with DICOM datasets, imaging, and 3D data across different hardware setups. You can use it on standard PC screens, autostereoscopic 3D displays, in VR, either individually or simultaneously.
1.A.2
Connecting your VR headset
1.A.2.V1.9-01
Spatial OS allows you to connect a VR headset to your PC and work with your data in a VR environment. Your PC handles all rendering for both the PC screen and the VR headset.
Once connected, you can work either in the VR headset or on your PC screen. Use the View switch at the top of the interface to move between PC screen view and VR view.
To use the PC and VR headset at the same time, activate the Second Viewer license.
For Meta Quest headsets
Watch this video tutorial for a visual guide on connecting a Meta Quest headset to a PC with Link:
- Install the Meta Horizon Link on your PC.
- Allow VR apps, such as Spatial OS, to use your Meta Quest headset via Meta Horizon Link.
In Meta Horizon Link, open Settings → General → find OpenXR Runtime → click Set Meta Horizon Link as active. If the button is greyed out, Meta Horizon Link is already the active OpenXR runtime. - Connect your headset to your PC using USB or Wi-Fi.
- Open Meta Horizon Link on your PC and confirm the connection in the headset.
- Start Spatial OS on your PC.
For Pico headsets
- Install Pico Connect on your PC (from the official Pico website) and on your headset (from the Pico Store).
- Install SteamVR from Steam on your PC.
- Start Pico Connect on your PC and confirm the connection in the headset (connect the headset via USB or Wi-Fi).
- Launch SteamVR from Pico Connect in the headset.
- Add Spatial OS to SteamVR on your PC and run it.
1.A.3
Switching between screen and VR view
1.A.3.V1.9-01
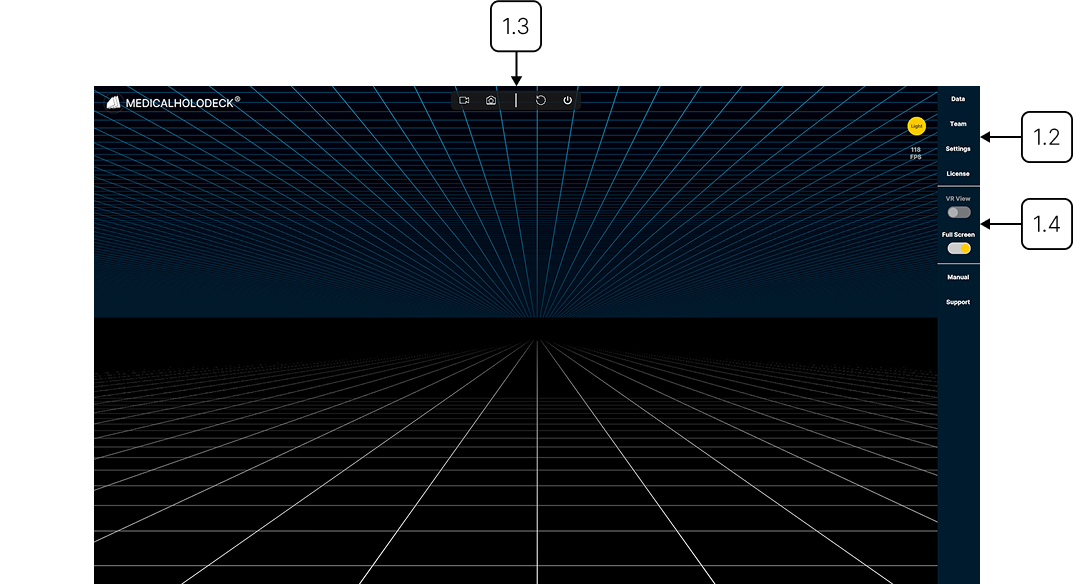
To switch between the PC screen and VR view, use the View switch located in the top bar. It lets you choose which perspective you want to use to interact with the data.
If the Secondary Viewer license is activated, you can use both the PC screen and the VR headset at the same time. In this case, the switch allows you to move between working on the PC and previewing the VR environment.
1.A.4
Connecting a 3D screen
1.A.4.V1.9-01
A typical setup involves installing the required drivers and software from the manufacturer’s website. Then, connect the display using an HDMI or DisplayPort cable for video and, if needed, a USB cable for data transfer. Some devices support a single USB-C connection that carries both video and data.
After connecting the cables, power on the monitor and your computer, and make sure the correct input source is selected. Finally, launch the manufacturer’s software to enable 3D features.
1.A.4.1
Supported 3D screens
Compatible devices include Acer SpatialLabs, Samsung Odyssey 3D, and Barco Eonis. These systems are calibrated for high-resolution medical imagery and precise depth rendering.